Microsoft’s Azure platform allows businesses to manage their applications using Microsoft’s data centers. It offers various cloud services, including IaaS (Infrastructure as a Service), PaaS (Platform as a Service), and SaaS (Software as a Service). Azure is a valuable tool for all organizations as the world shifts towards cloud-based solutions.
One of the significant benefits of Azure is its ability to adapt resources based on specific needs (pay-as-you-go). This feature enables businesses to respond quickly to changing market conditions without significant infrastructure investments. Additionally, Azure’s global network of data centers ensures reliable service for critical applications, making it easy to reach customers worldwide.
Another important aspect of Azure is its seamless integration with other Microsoft products and services. Azure works well with these systems for companies already using Microsoft tools like Office 365 or SharePoint, simplifying the transition from on-site servers to the cloud. Azure also provides robust security features, including data encryption and monitoring capabilities, to keep sensitive data safe in the cloud.
Understanding the Azure Free Account
First, let’s talk about what a free Azure account means. Microsoft Azure gives you a special deal for 12 months where you can use a lot of their resources and services without having to pay anything. This is great because it lets you try different things, create applications, and learn to use Azure without worrying about spending money.
Steps to Create Azure Free Account
If you want to set up a Microsoft Azure account, follow the steps for creating a free account. It’s easy to do and won’t cost you anything.
Step 1: Go to the “https://azure.microsoft.com/” in your web browser to get started with Azure.
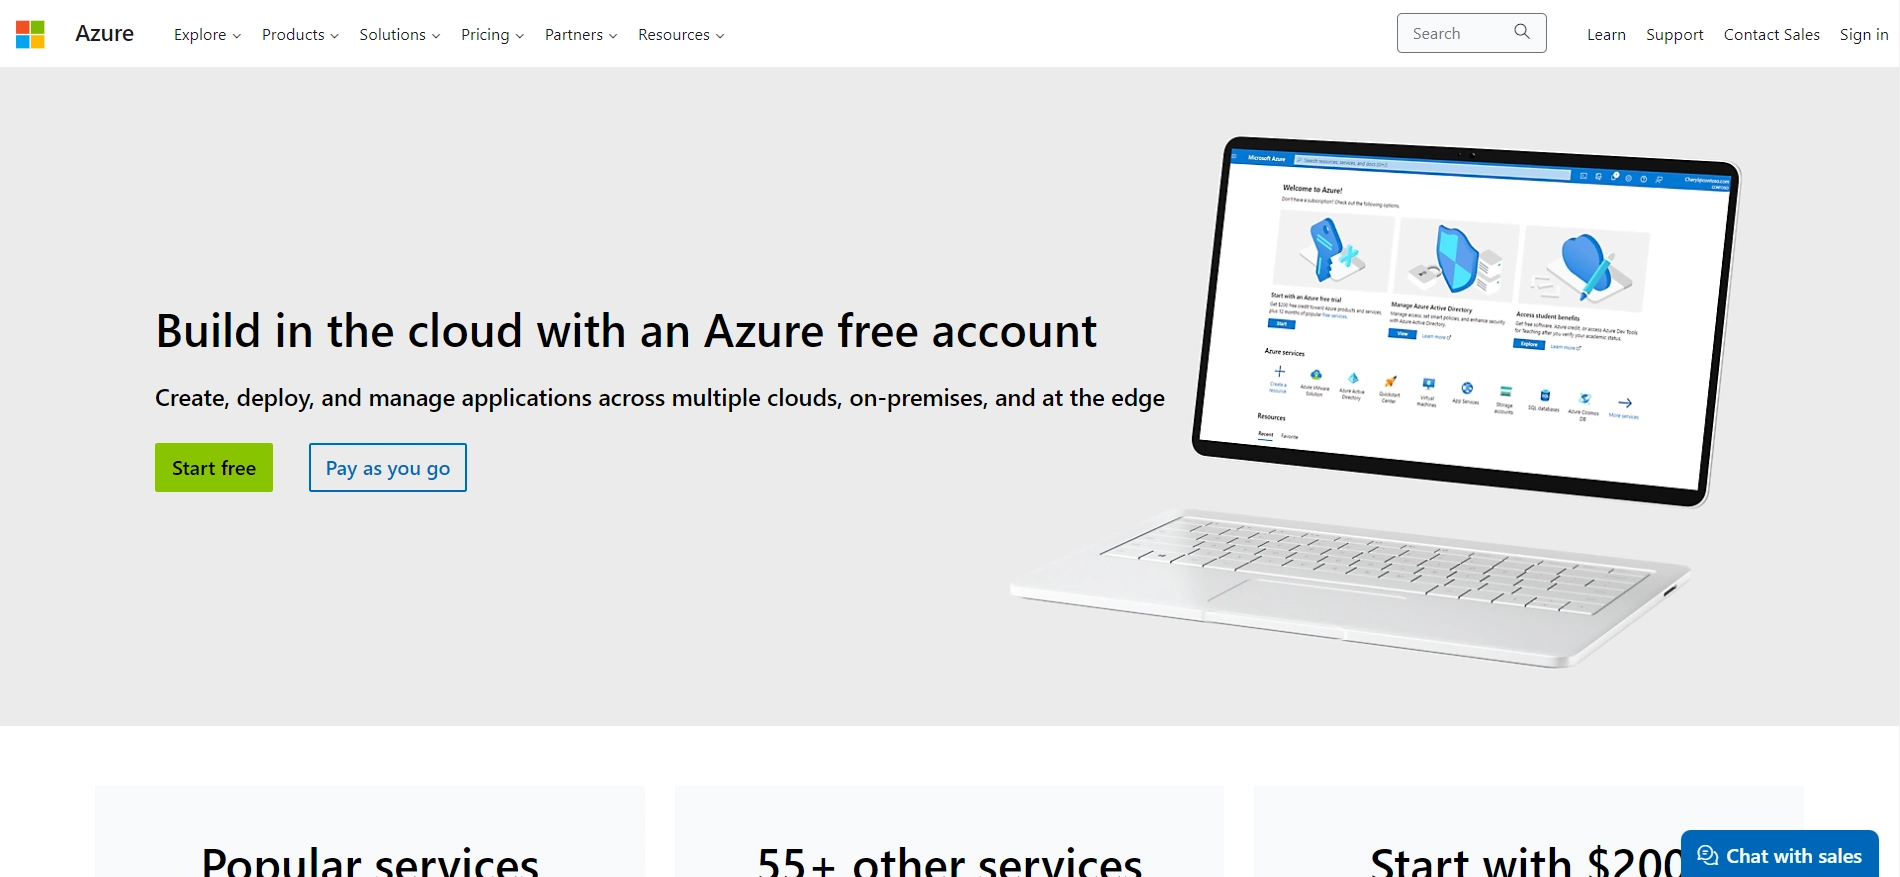
Step 2: Once on the Azure website, you’ll see the “Start Free” option in the hero banner.
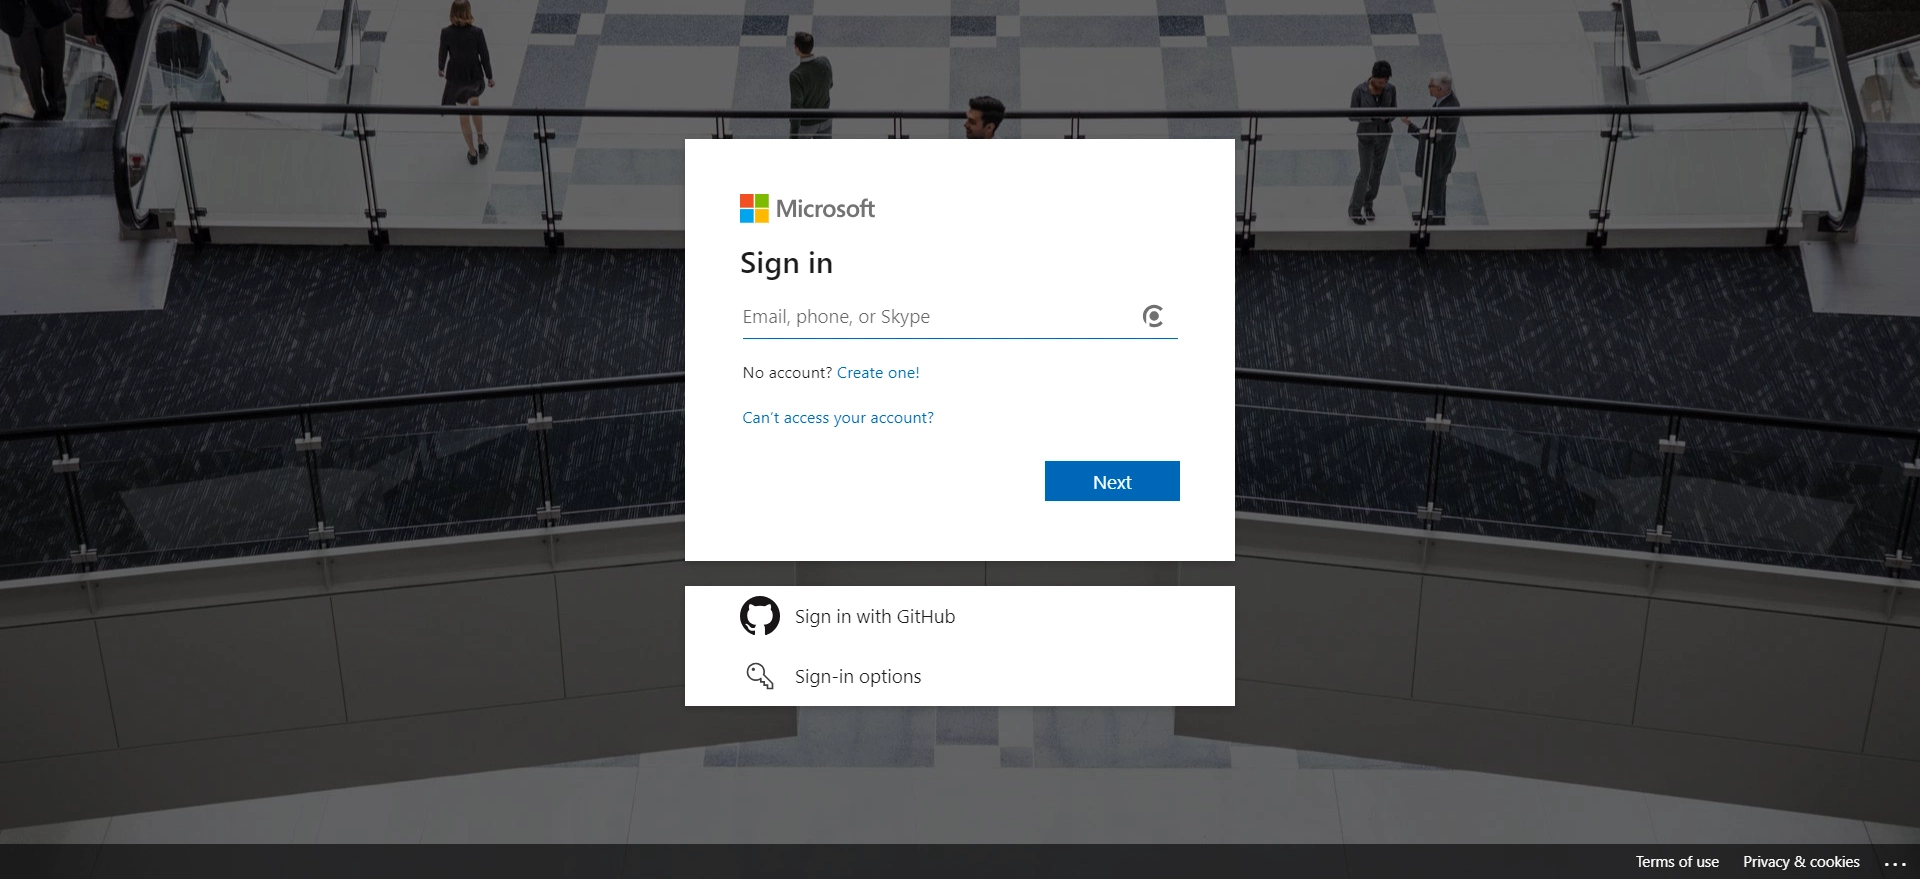
If you already have a Microsoft account, you can use it to sign in. If not, you must create one by clicking “Create one.”
Step 3: During the account creation process, you’ll be asked to provide your personal information, including your name, email address, and password. Ensure that the password is strong and secure.
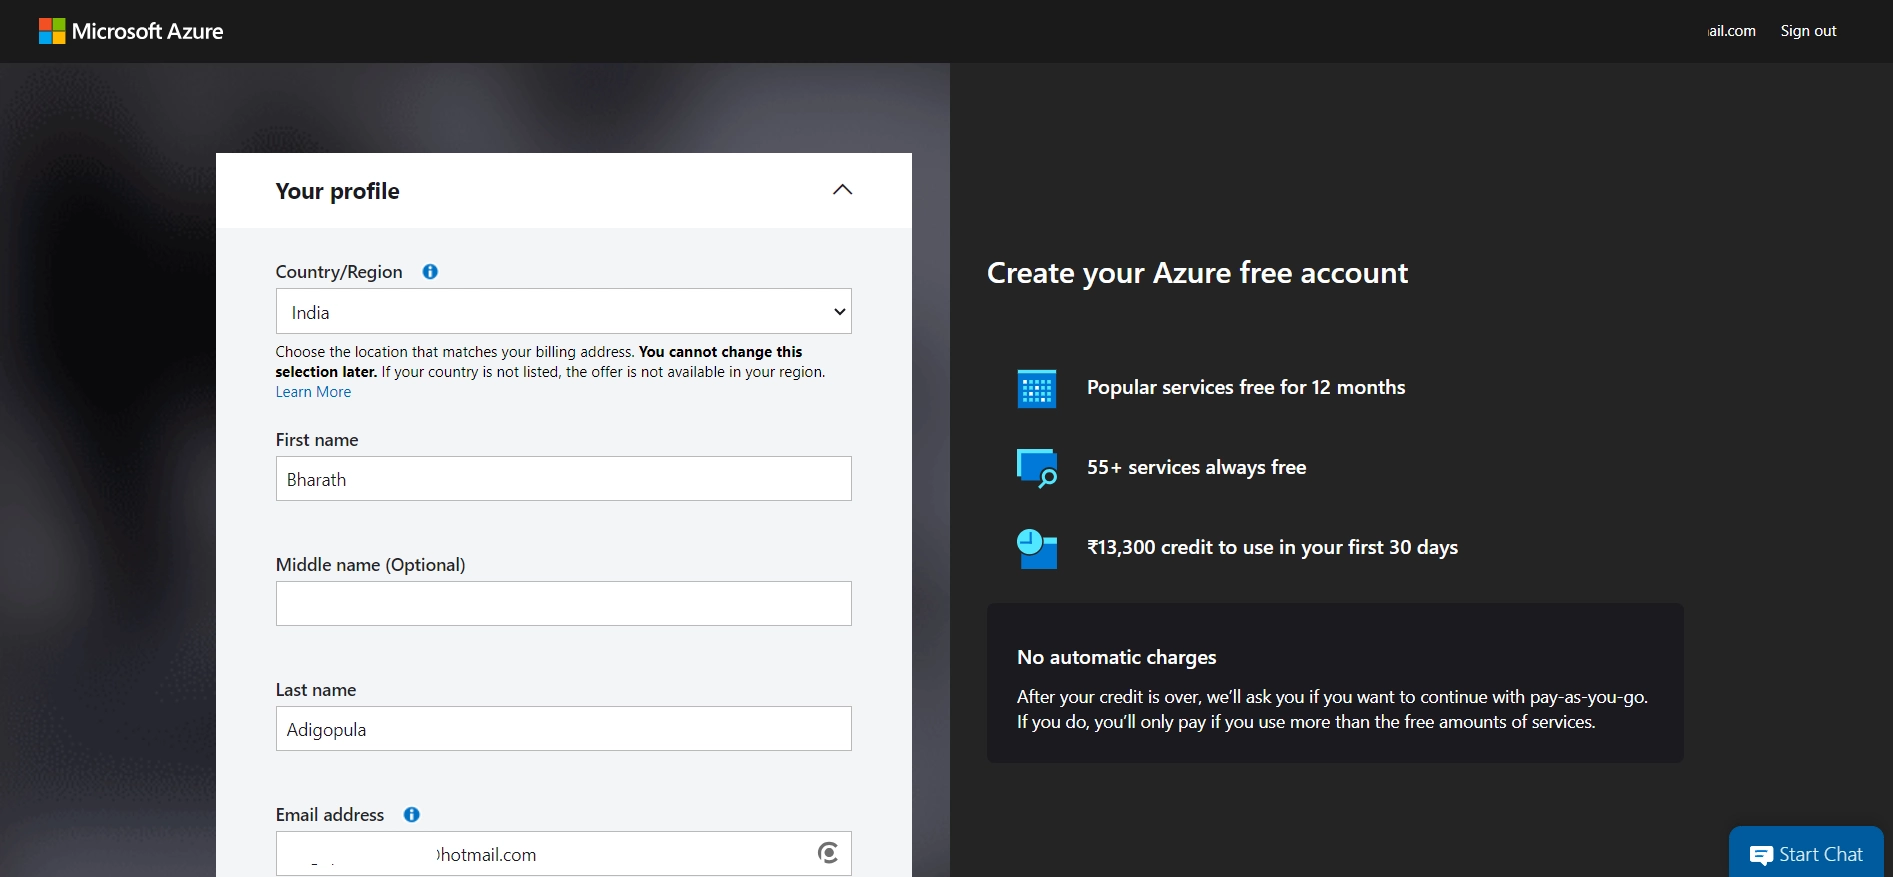
Step 4: Microsoft will send a verification code to your provided email address and phone number. Enter that code to verify your email and phone and continue the account creation process.
Step 5: Read and accept Microsoft’s terms and conditions before proceeding. It’s essential to understand the terms of service and privacy policies.
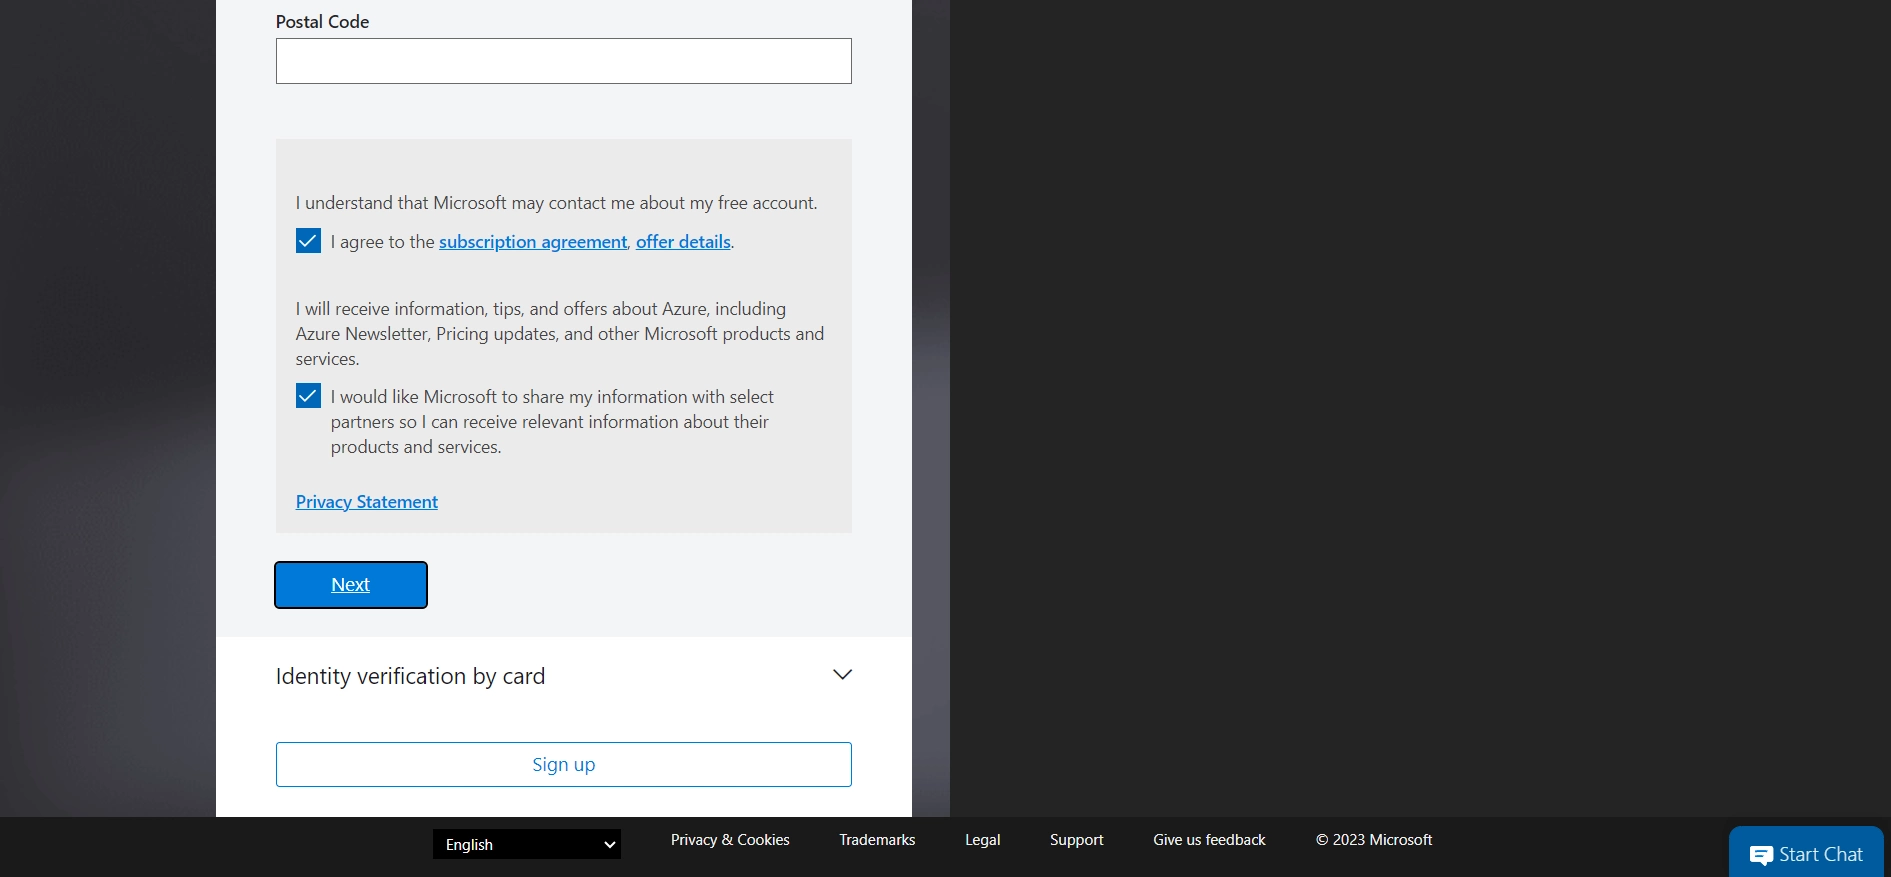
Step 6: You might be asked to enter your payment information when creating a free Azure account. This ensures that your account is legitimate and that you won’t be charged anything during your free trial.
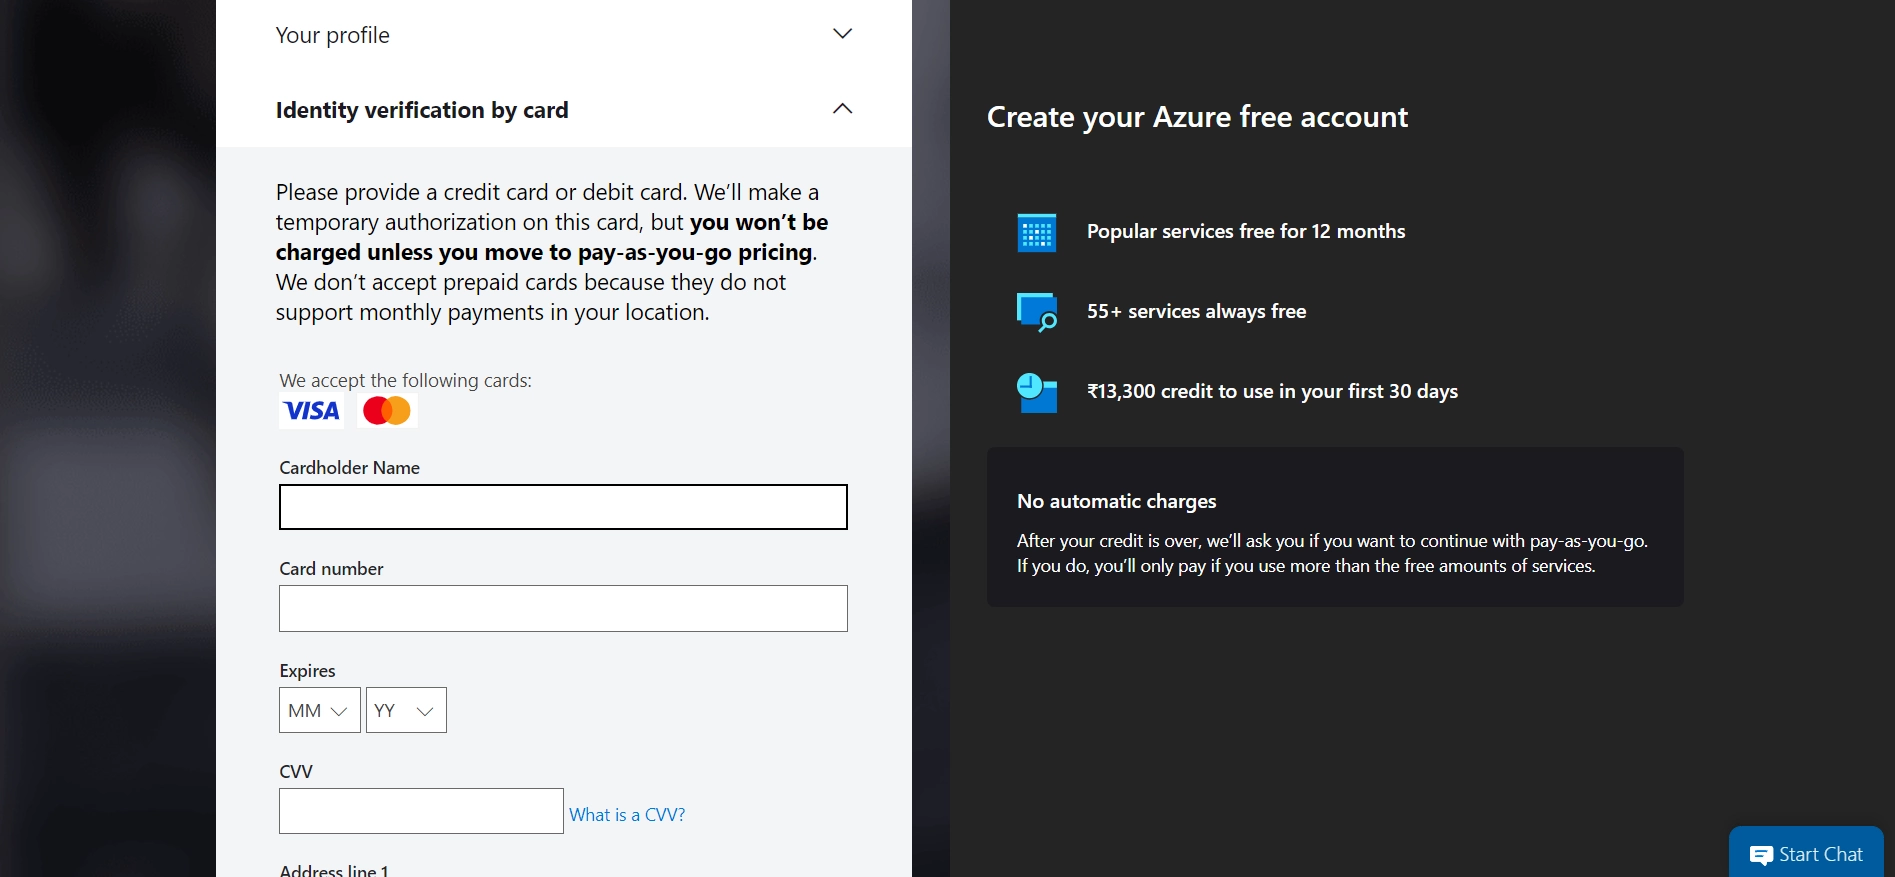
So don’t worry. You will only be billed for something if you upgrade to a paid plan. While it’s a free account, Azure may require you to enter payment information for account verification purposes.
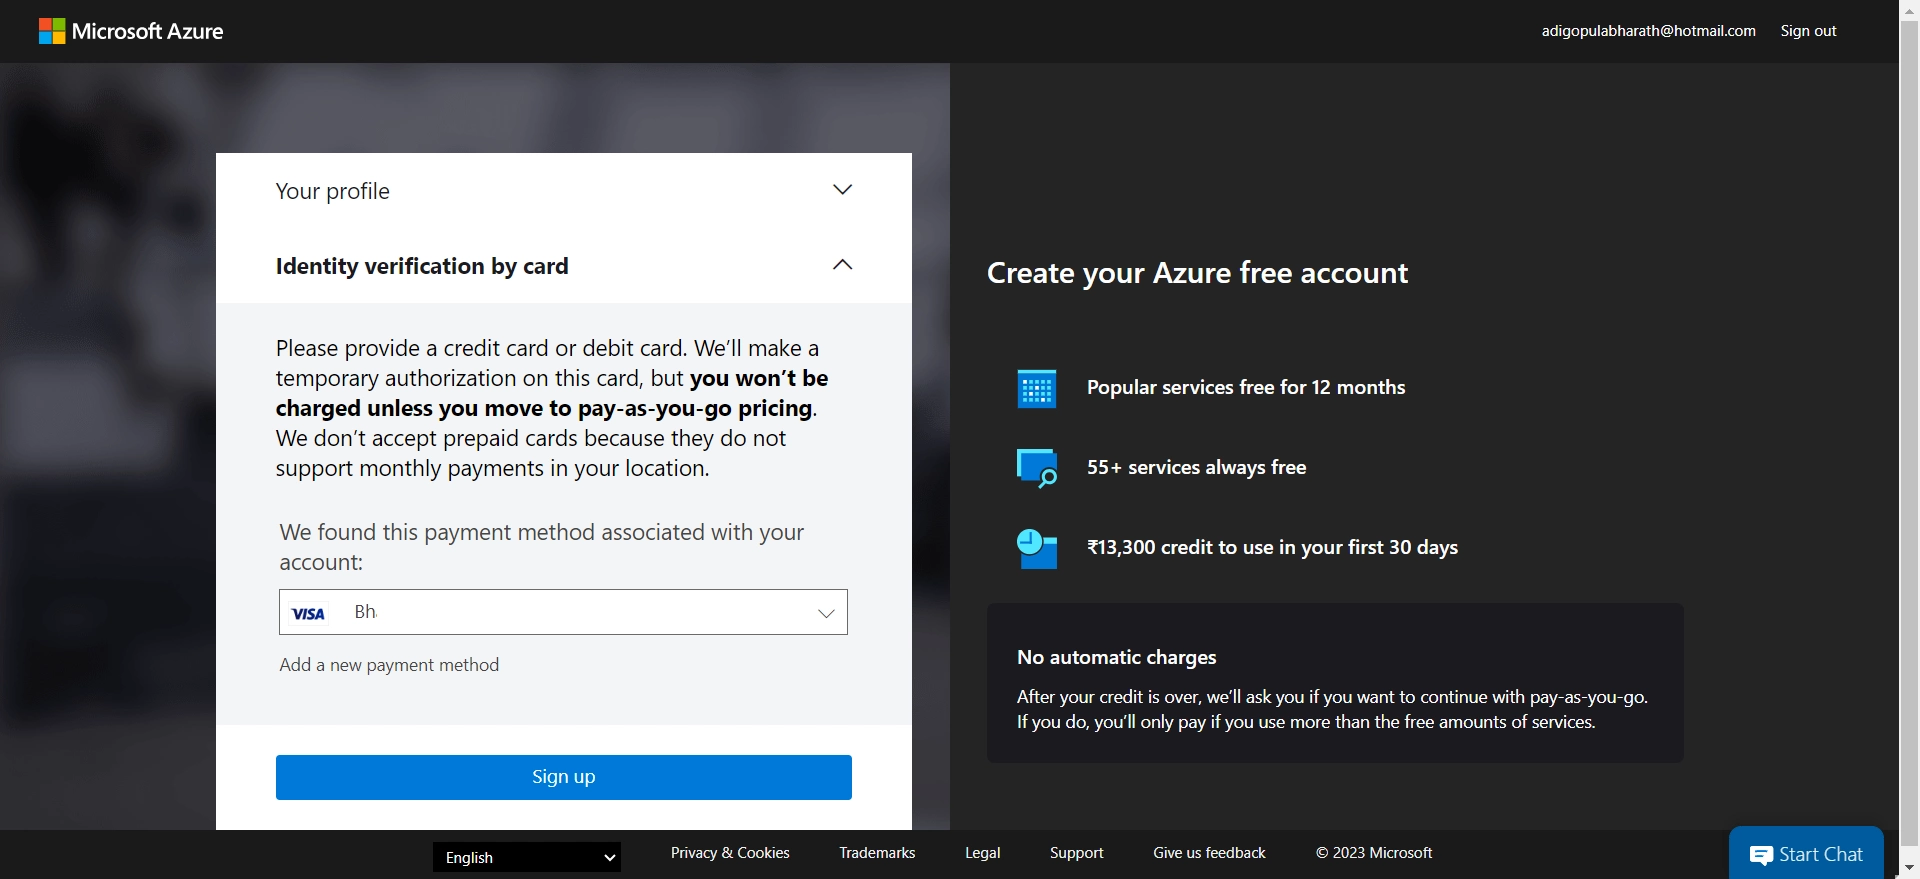
Rest assured that you won’t be charged during the free trial period. You will receive a $200 credit for a month, which can be used for any of Azure’s services.
Step 7: Azure provides a range of free services as part of their free trial. These include virtual machines, databases, and storage. You can choose which services you want to use without having to pay anything.
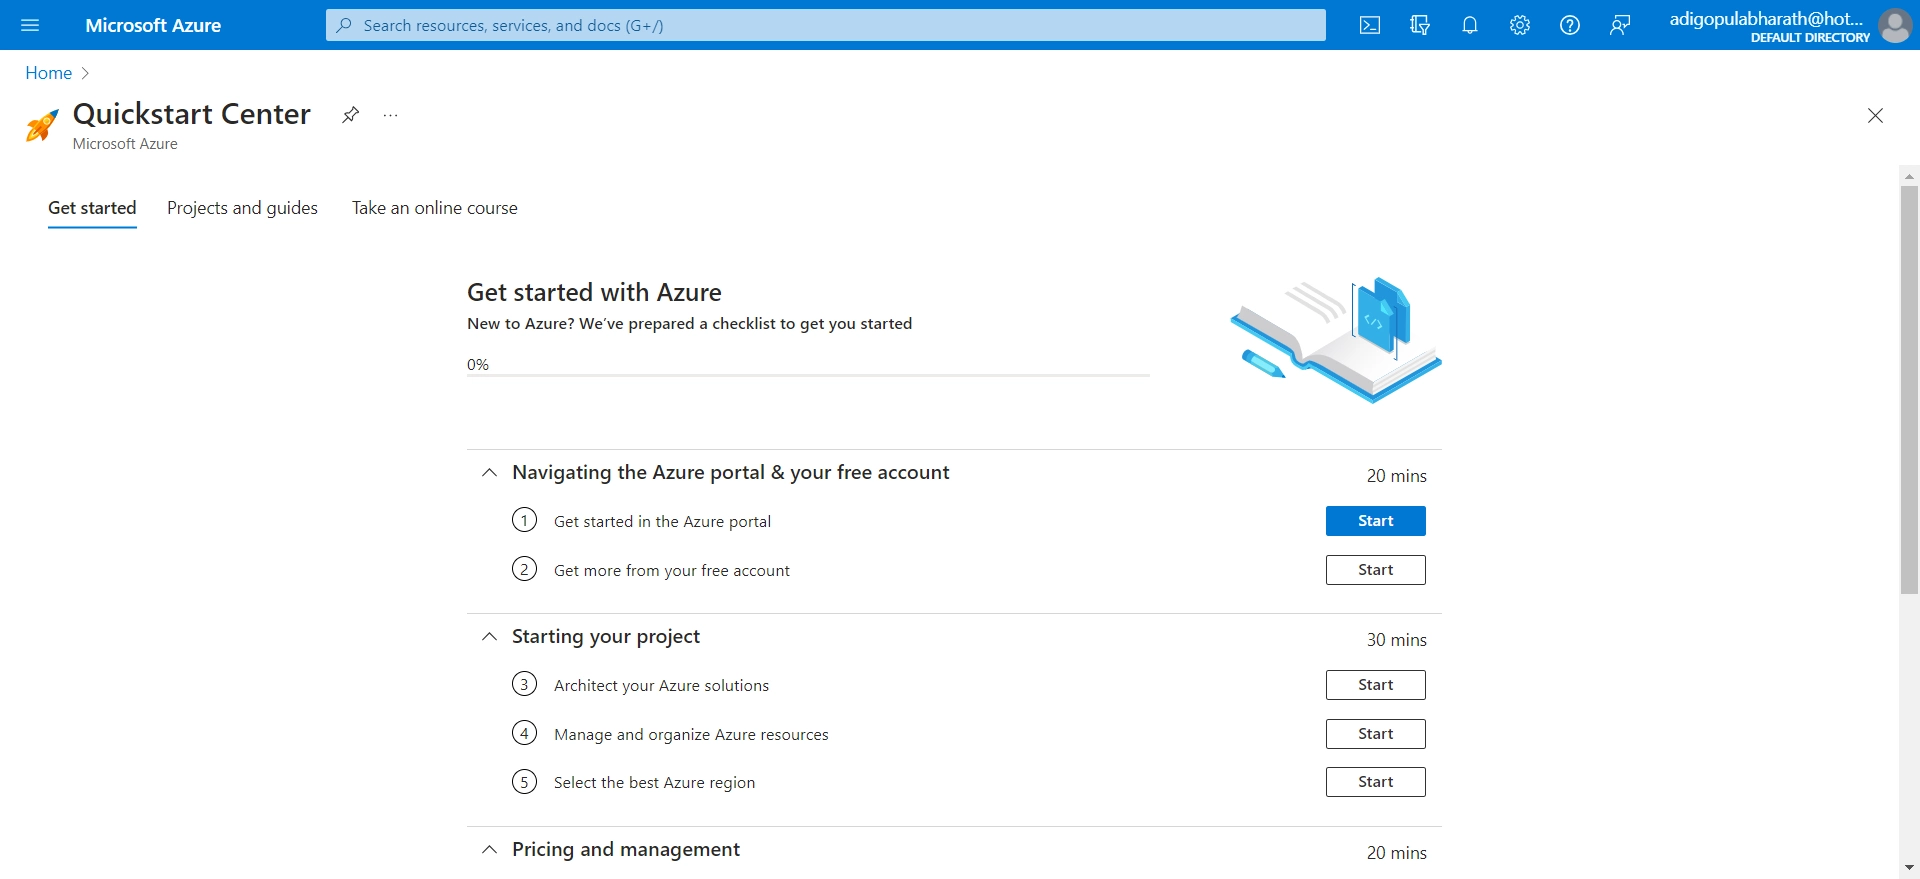
Step 8: Now that you have signed up for a free Azure account and set it up, you can start using the Azure portal. This is where you can find many different tools and services to help you create and launch applications, examine data, and much more.
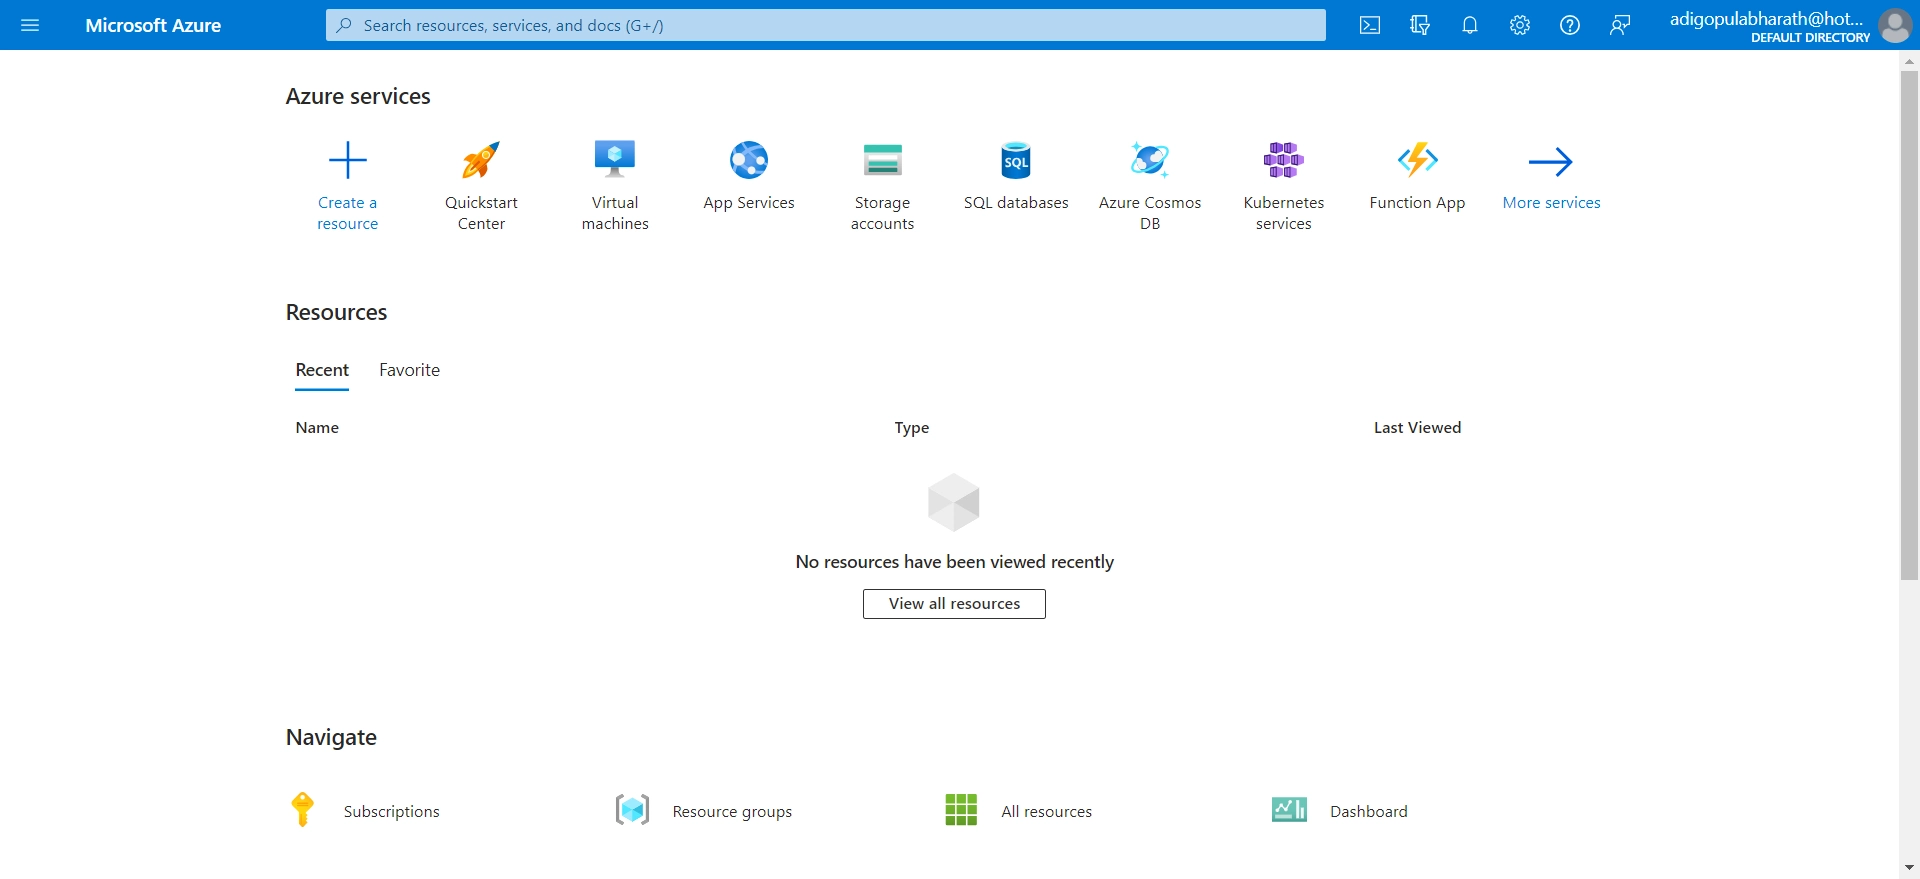
Step 9: During the free trial period, it’s important to keep track of how much of your resources you are using. Azure has helpful reports and notifications that can assist you in managing your resources efficiently.
Final Thoughts
Getting started with Microsoft’s cloud platform is accessible with an Azure free account. You’ll have access to various helpful tools and services that simplify creating and launching applications. Just monitor your usage and take advantage of all the available resources to get the most out of your Azure experience.
