
If you’re in the world of IT and software development, you know that remote access and efficient management of multiple systems are the keys to success. It doesn’t matter if you’re a system administrator, a network engineer, or a developer.
You’ve surely faced situations where you need to connect to different servers, transfer files, and run commands. Thankfully, MobaXterm, a fantastic all-in-one remote networking toolkit, has got your back. In this blog post, we’re going to introduce you to MobaXterm and provide you with a step-by-step guide on how to install it. It’s time to take your remote access game to the next level!
What is MobaXterm?
Are you looking for an application that can make your remote computing tasks a breeze? Look no further than MobaXterm. This powerful and user-friendly tool combines multiple network and system tools into one convenient interface, making it easy to streamline and simplify your work.
Plus, with a range of functions and compatibility with Windows, MobaXterm is the perfect choice for anyone looking to boost their productivity and efficiency.
SSH Client: If you’re looking for a secure way to connect to remote servers, MobaXterm has got you covered. It’s perfect for managing Linux servers or any other remote Unix-like systems.
X11 Server: Did you know that with X11 support, you can bring your remote server’s graphical applications to life on your local machine? It’s a game-changer for those who want to work remotely without losing access to their favorite programs!
Tabbed Terminal: Working with multiple connections has never been easier! With the tabbed terminal interface, you can easily multitask and manage all your connections with ease. Say goodbye to the hassle of switching between different windows and hello to a more efficient way of working.
File Transfer: Effortlessly move your files back and forth from your computer to remote servers through the use of SFTP, SCP, or FTP.
Built-in Text Editor: Editing configuration files on remote servers has never been easier with MobaXterm’s built-in text editor. It’s a convenient solution that saves you time and effort!
Network Tools: Need to troubleshoot and diagnose network issues? Look no further! This tool has got you covered with a range of network tools, including ping and traceroute.
Built-in Unix Commands: Running Unix commands has never been easier! Simply access the terminal and run your commands directly without the hassle of opening up multiple SSH sessions. Say goodbye to unnecessary steps and hello to a more efficient workflow.
Customizability: Customizing your workflow has never been easier with MobaXterm. This powerful tool lets you personalize your experience by adding plugins, scripts, and even modifying the interface to your liking.
With MobaXterm, you’re in control and can create a setup that perfectly fits your needs. So why settle for a one-size-fits-all approach when you can have a tailored solution with MobaXterm?
Alright, now that we have a grasp on what MobaXterm is, it’s time to dive into the super exciting stuff – installing it!
How to Install MobaXterm
Step 1: Download MobaXterm
1. Head over to the MobaXterm website at [https://mobaxterm.mobatek.net/] to get all the information you need.
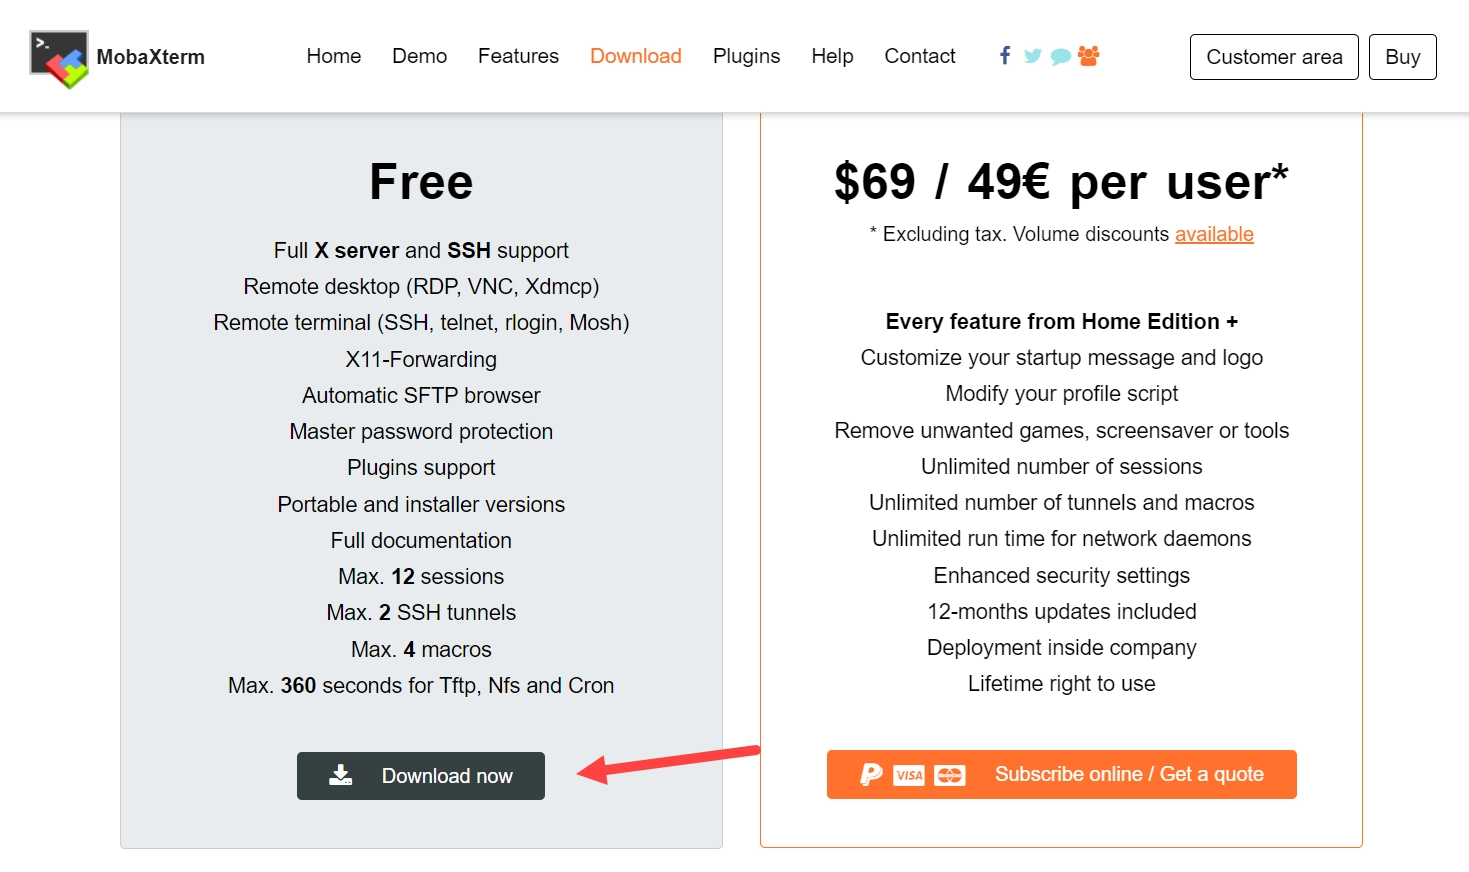
2. Next, head over to the homepage and give that “Download Now” button a satisfying click!
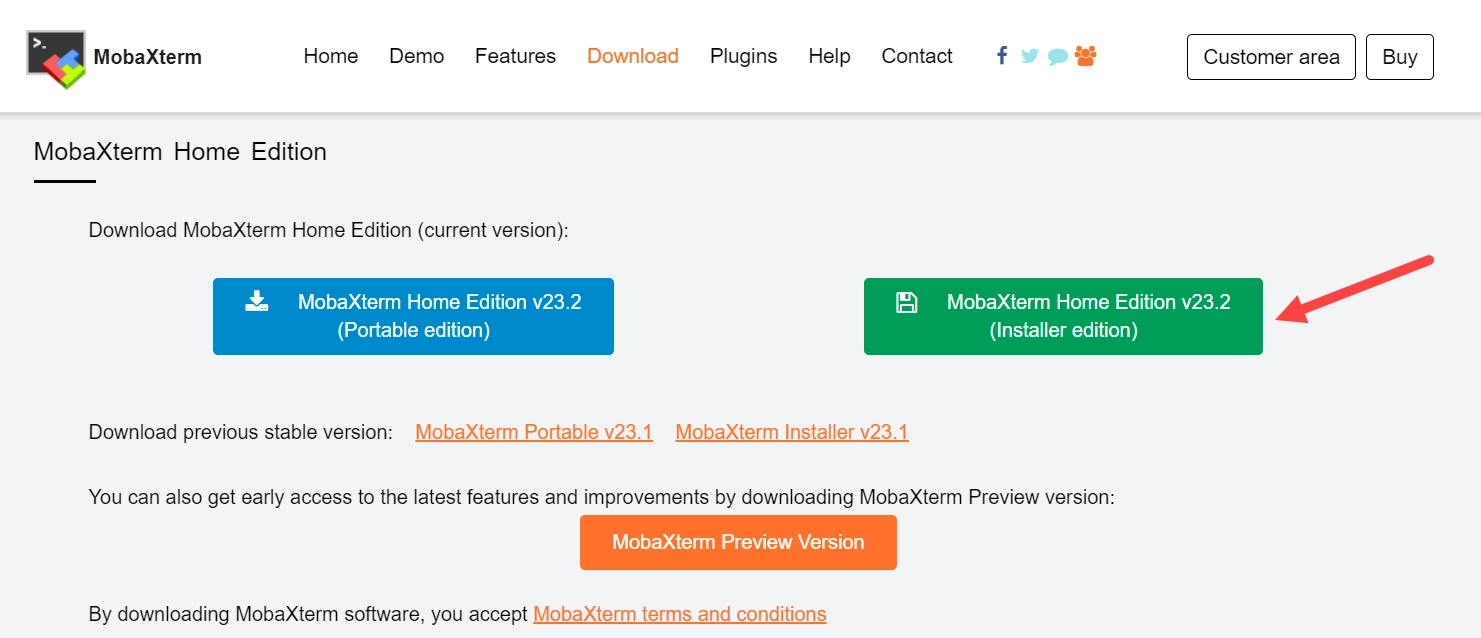
3. You have three amazing options to choose from: Home Edition, Professional Edition, and Portable Edition. The Home Edition is perfect for most users, and it’s completely free! However, if you’re a pro and need advanced features, you can go for the Professional Edition. Simply click on the edition that suits your needs and start the download. It’s that easy!
Step 2: Run the Installer
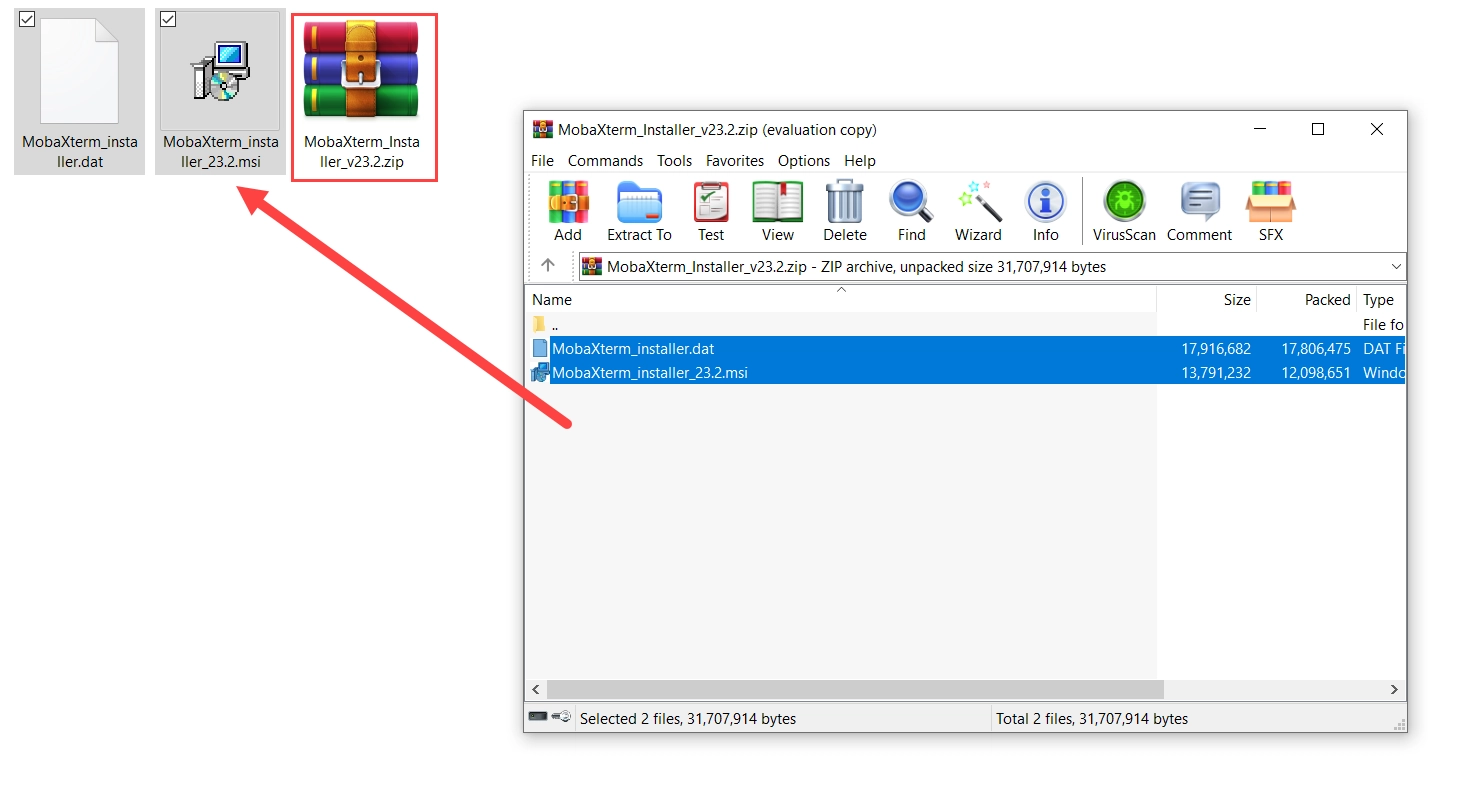
1. After the download is finished, simply head to your Downloads folder and give that file a double-click to get the installer up and running. It’s that easy!
2. You may see a pop-up from Windows asking if you’d like to run the installer. Just give it a click on “Yes,” and you’ll be good to go!
Step 3: Installation Settings
1. Let’s get started with MobaXterm! To begin, simply open up the installer, and the setup wizard will appear. Just click on “Next,” and we’ll be on our way.
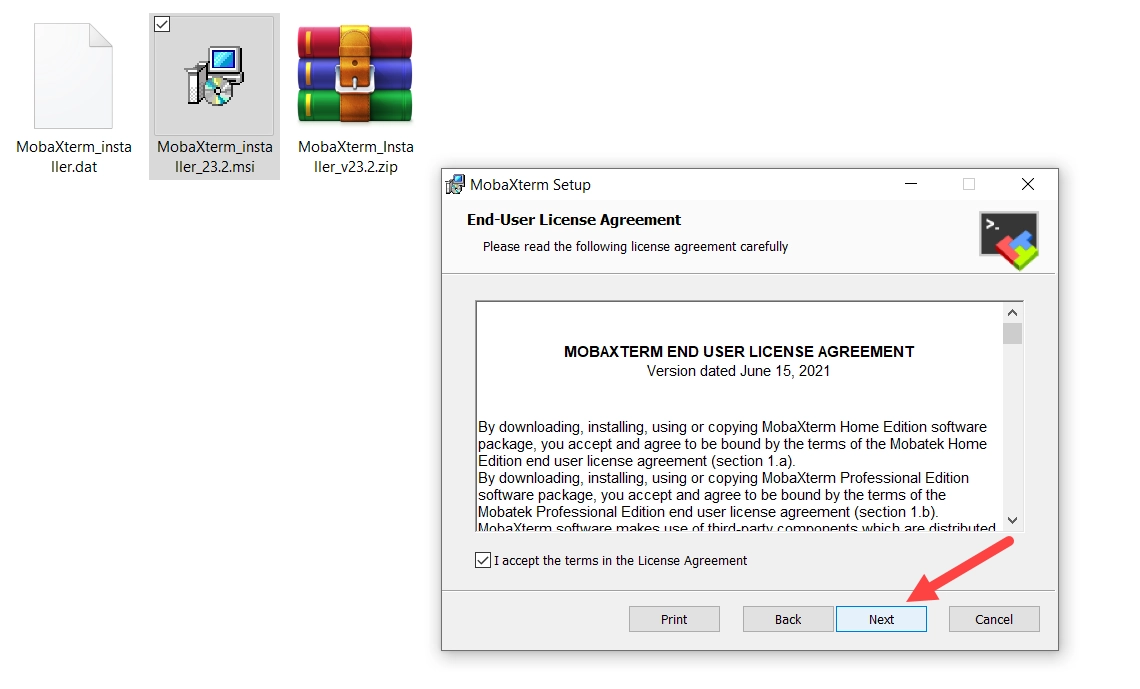
2. Take a moment to carefully review and agree to the License Agreement before clicking “Next.”
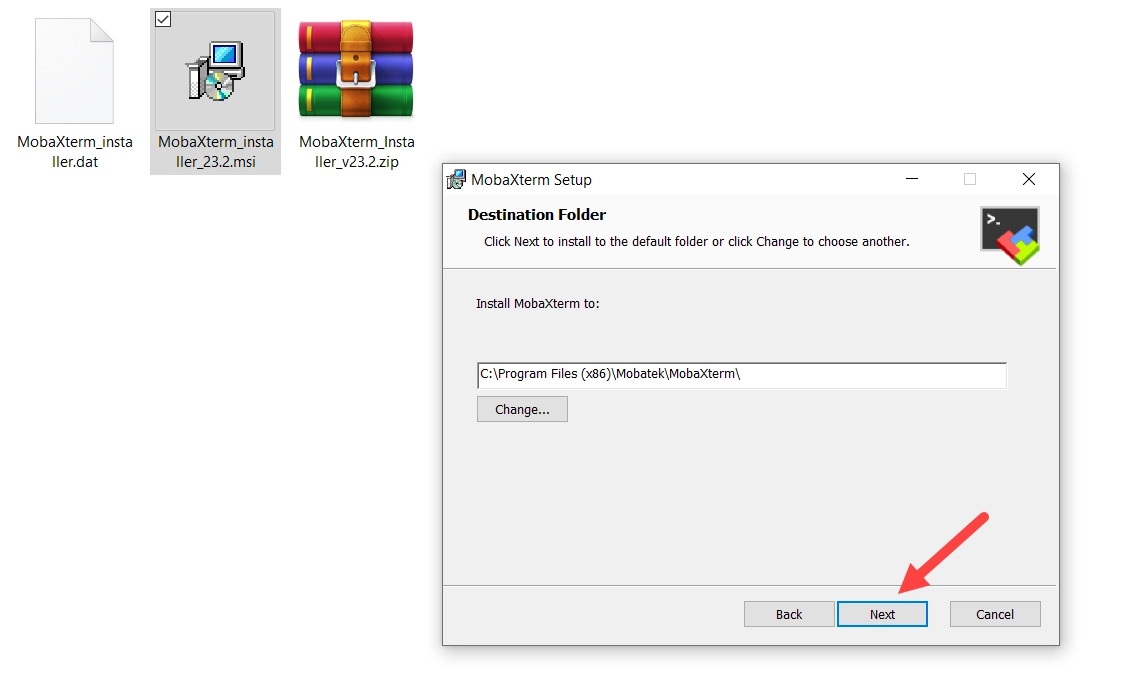
3. You have the option to either stick with the default installation location or choose a different one. To move forward, simply click “Next.” However, it’s recommended that you stick with the default location for optimal performance.
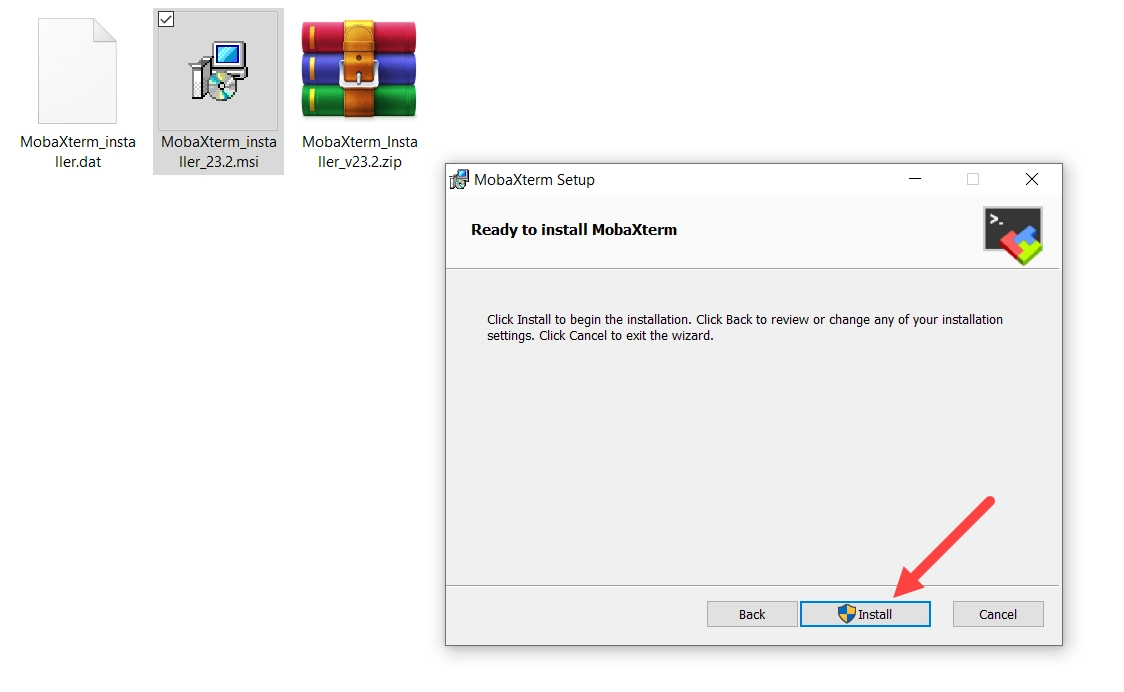
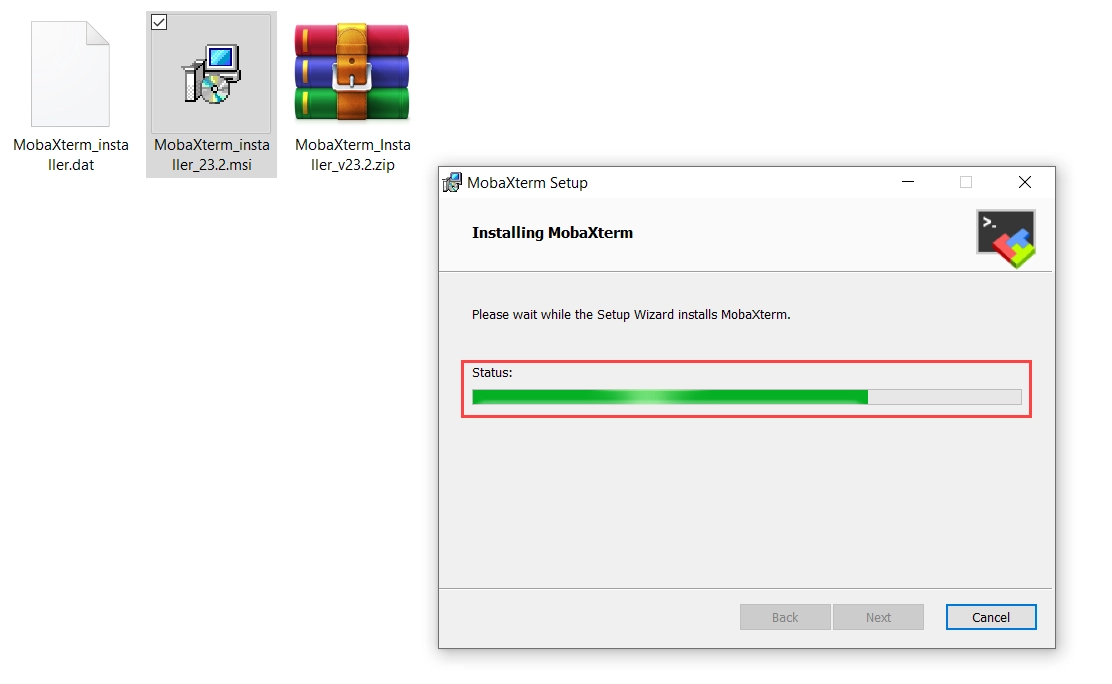
6. Take a quick look at your settings and tap “Install” to kick off the installation process.
Step 4: Installation Complete
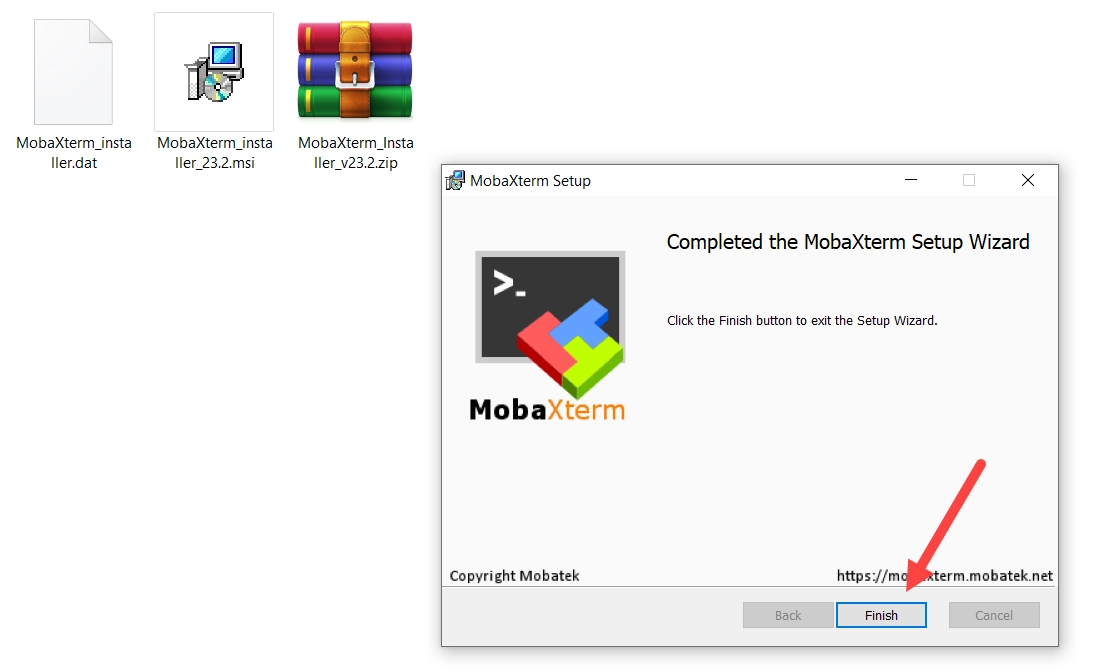
1. Once the installation process is complete, you’ll be prompted to click on the “Finish” button to exit the installer. It won’t take long, so just give it a moment.
Step 5: Launch MobaXterm
1. Great news! MobaXterm has successfully been installed on your system. You can easily locate it in the Start Menu, or if you’ve opted for desktop shortcuts, it’ll be waiting for you on your desktop.
2. To get started with MobaXterm, just give that icon a double-click! That’ll launch the application and get things rolling.
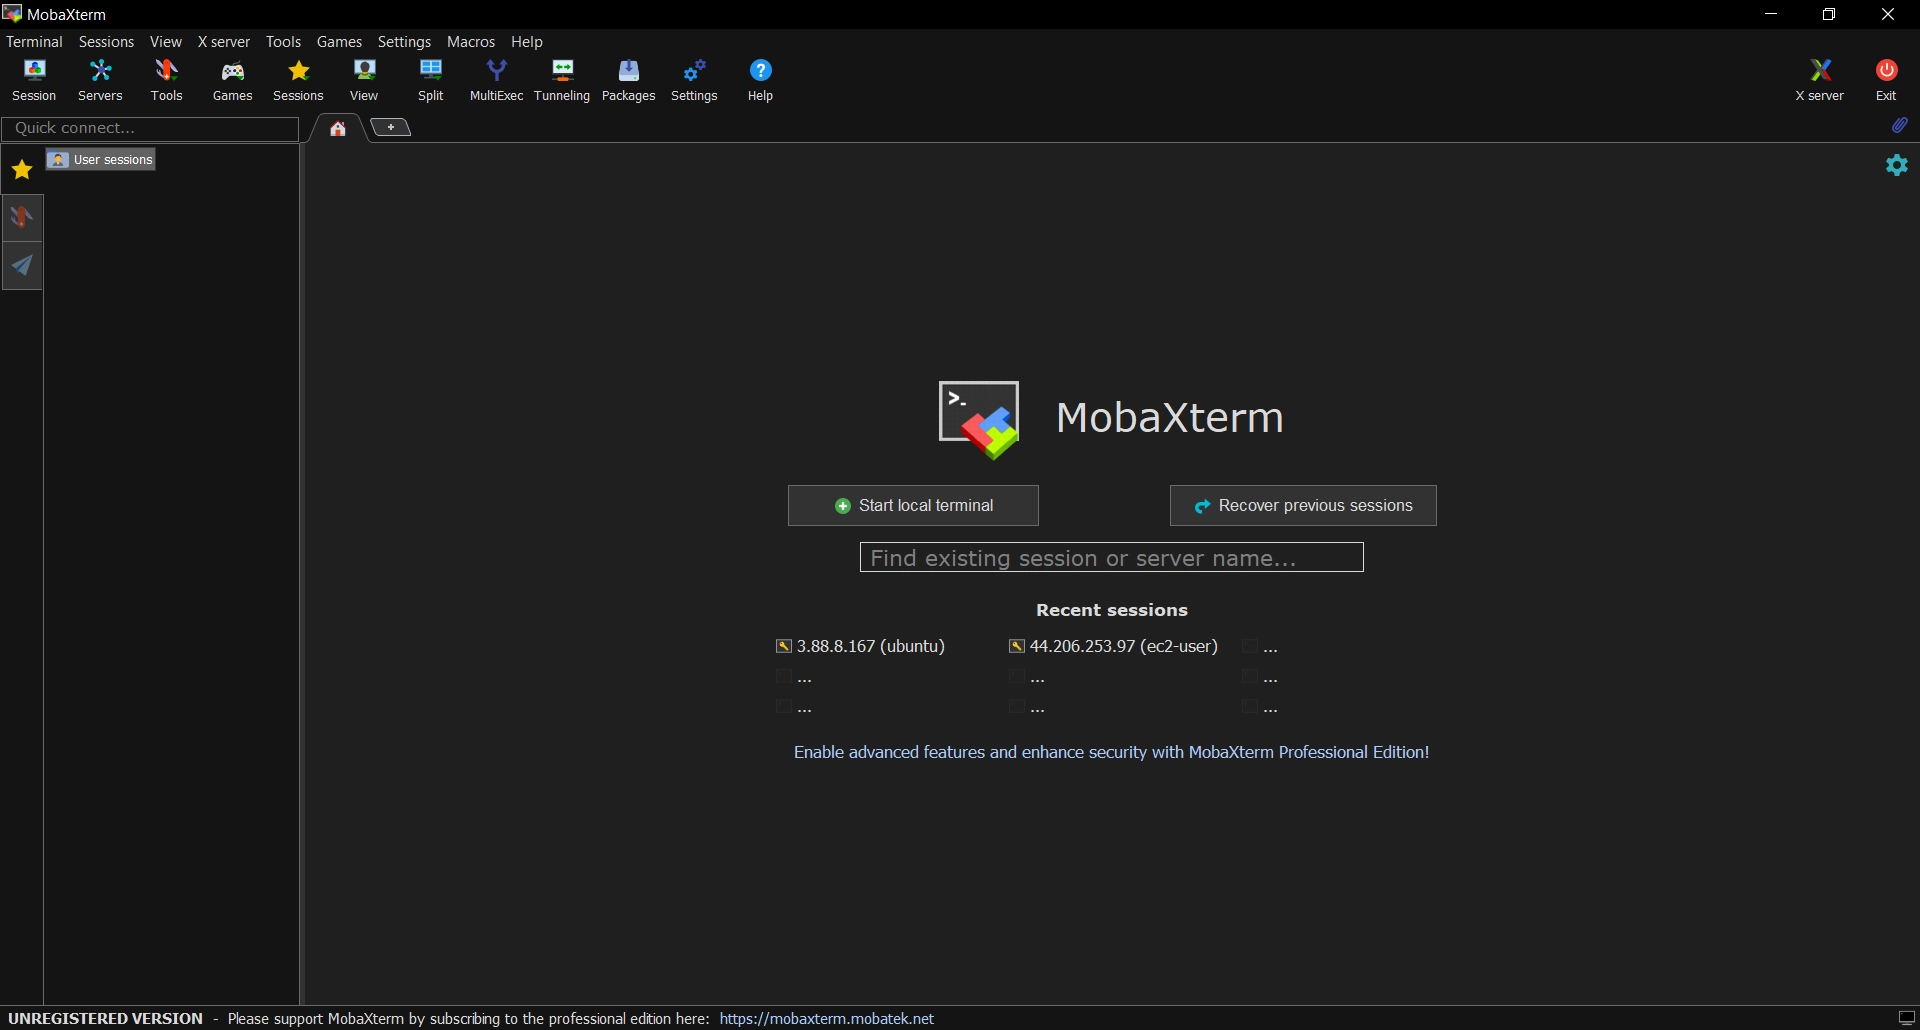
Great job! MobaXterm is now up and running, giving you access to a whole range of fantastic tools for managing remote systems and networks. Get ready to make the most of its amazing features!
Final Thoughts
If you’re tired of juggling multiple tools to manage your remote computing tasks, you’ll love MobaXterm! It’s the all-in-one solution you’ve been looking for. With its intuitive interface and powerful features, you can streamline your workflow and take your productivity to the next level. And now that you’ve got it installed, it’s time to unleash its full potential! Start exploring and see for yourself how MobaXterm can make your work easier.