
In the Azure cloud environment, Resource Groups are important for keeping track of and organizing resources. Whether you’re an experienced Azure user or new to the cloud, it’s crucial to know how to create and use these groups to keep your Azure environment organized and running smoothly. This guide will walk you through the steps of creating a resource group in Azure.
If you’re interested in Resource Groups in Azure, you can check out this blog post to learn more.
Step-by-Step Guide: Creating a Resource Group in Azure
Step 1: Sign in to Azure Portal
To get started, launch a browser on your computer that lets you access the internet. Then, go to Azure Portal.
To access Azure services, you’ll need to sign in with your Azure account. If you don’t already have an account, don’t worry – you can create one for free! We’ve put together a guide to walk you through the process step-by-step.
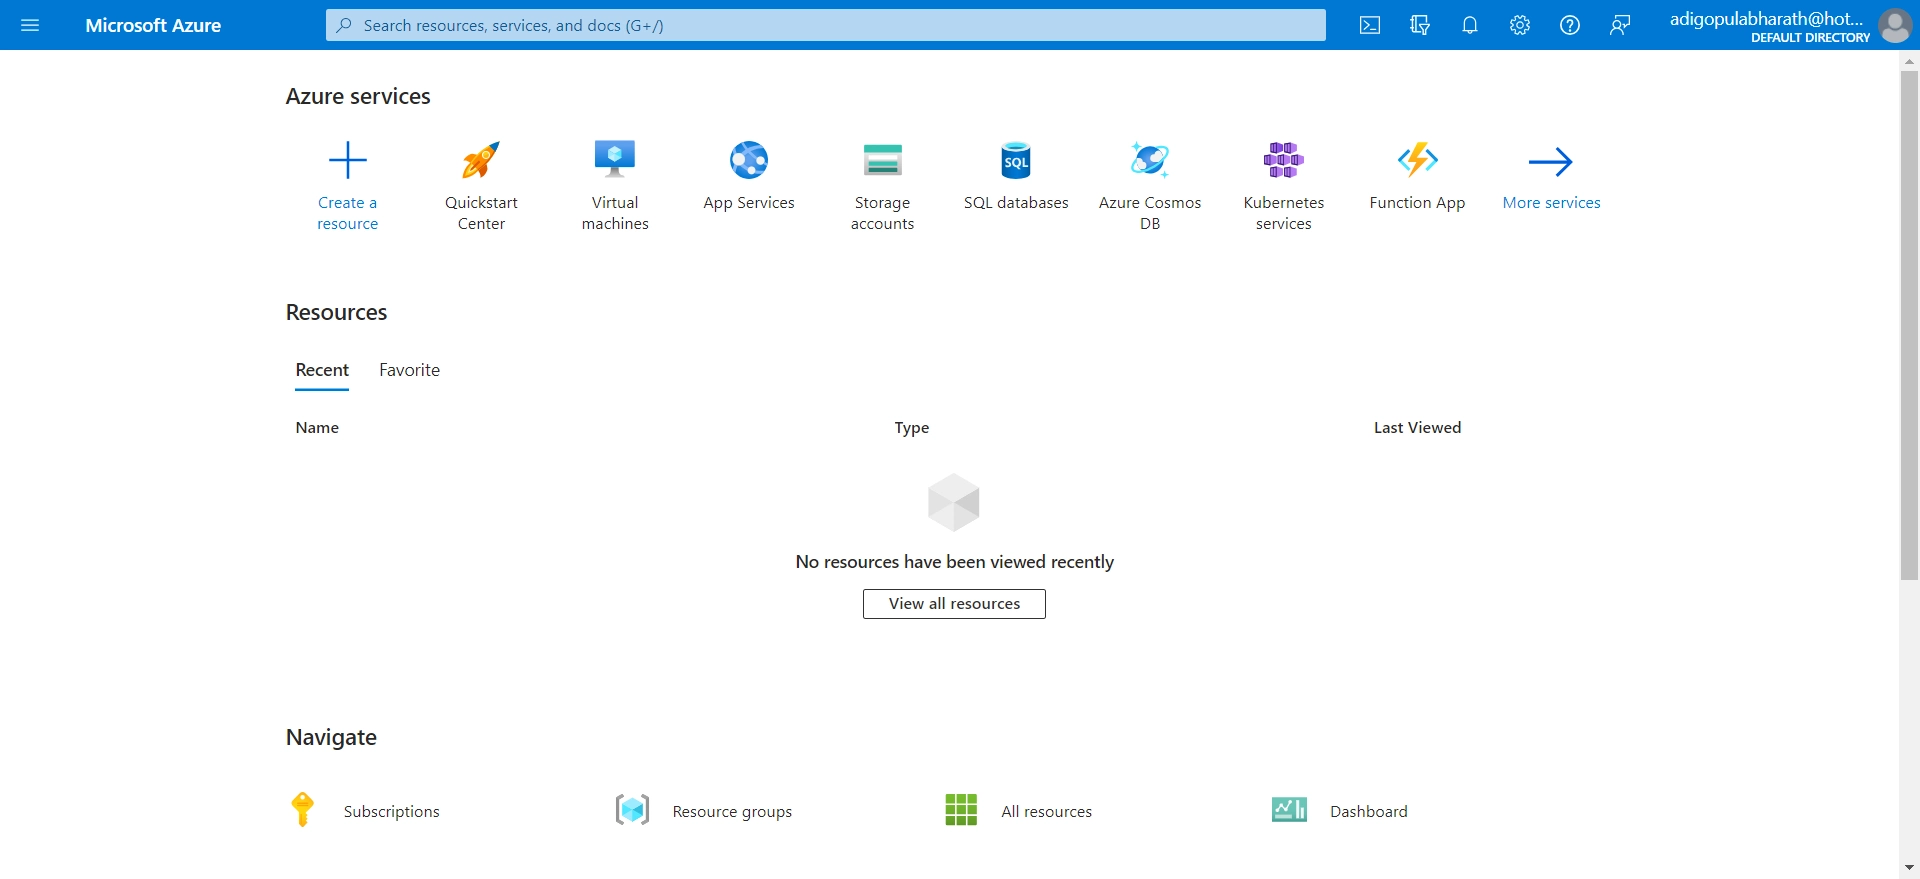
Once you log in, you’ll be directed to the main page of Azure Dashboard.
Step 2: Create a Resource Group
Type “Resource Group” in the search bar at the top and hit Enter.
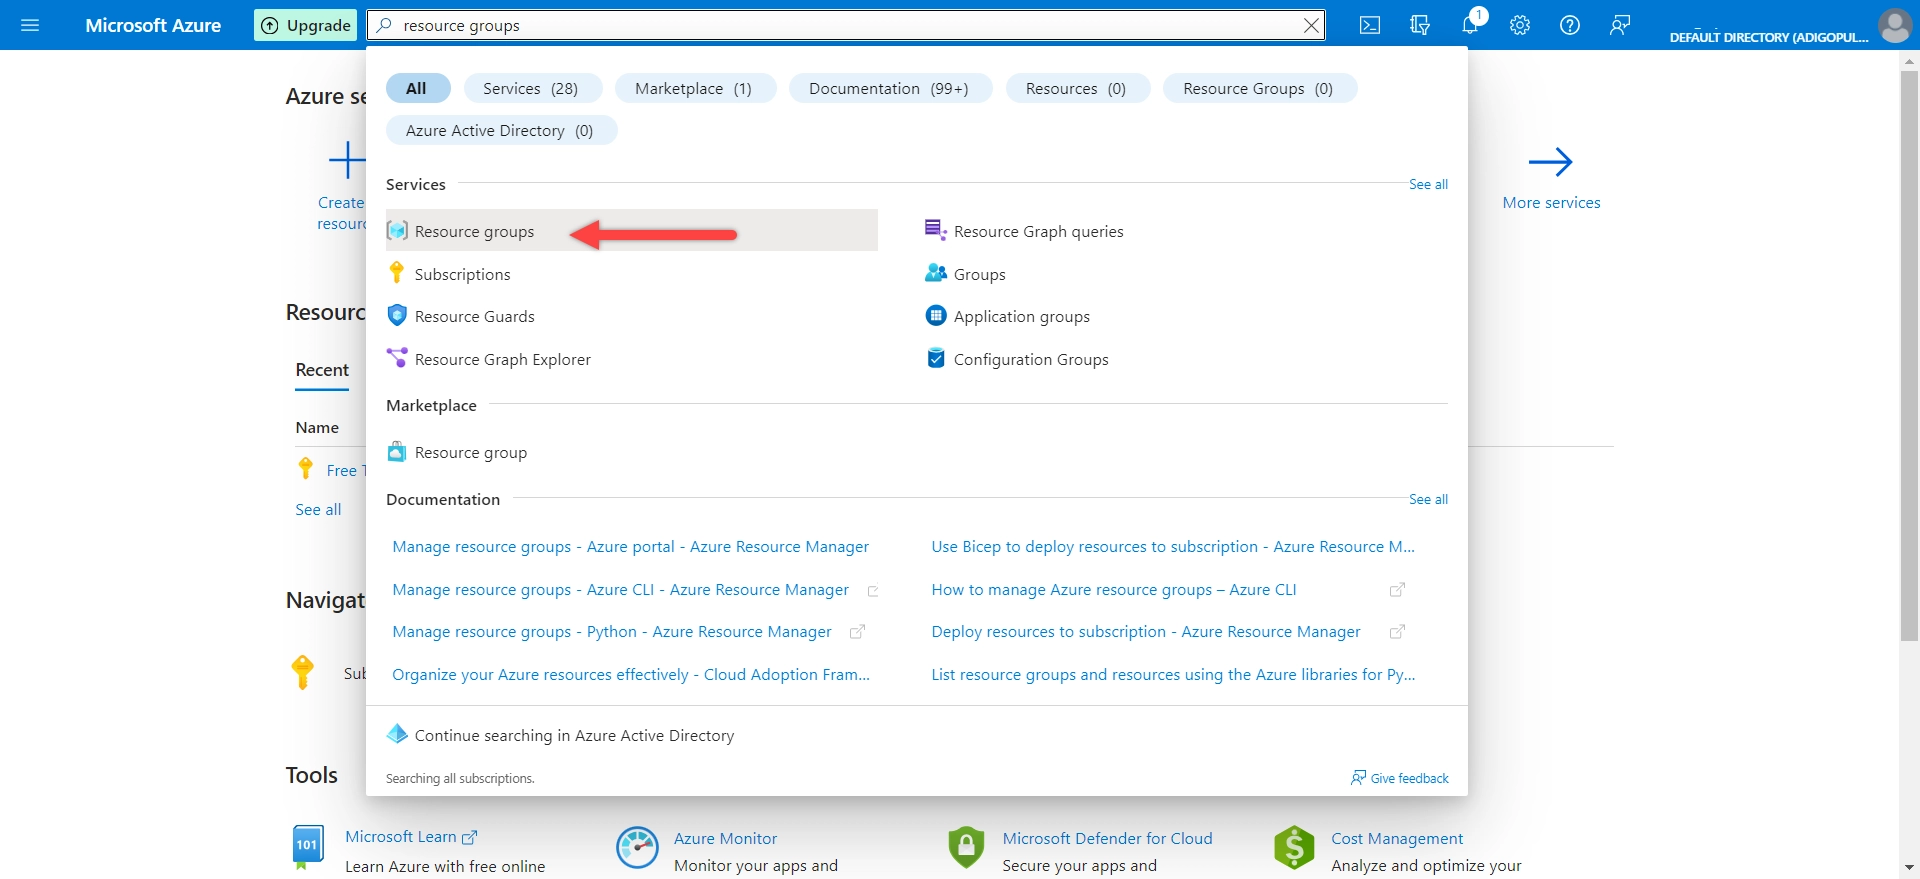
To find what you’re looking for, click on “Resource Group” in the search results. This will take you to a panel where you can see all the resource groups on that page.
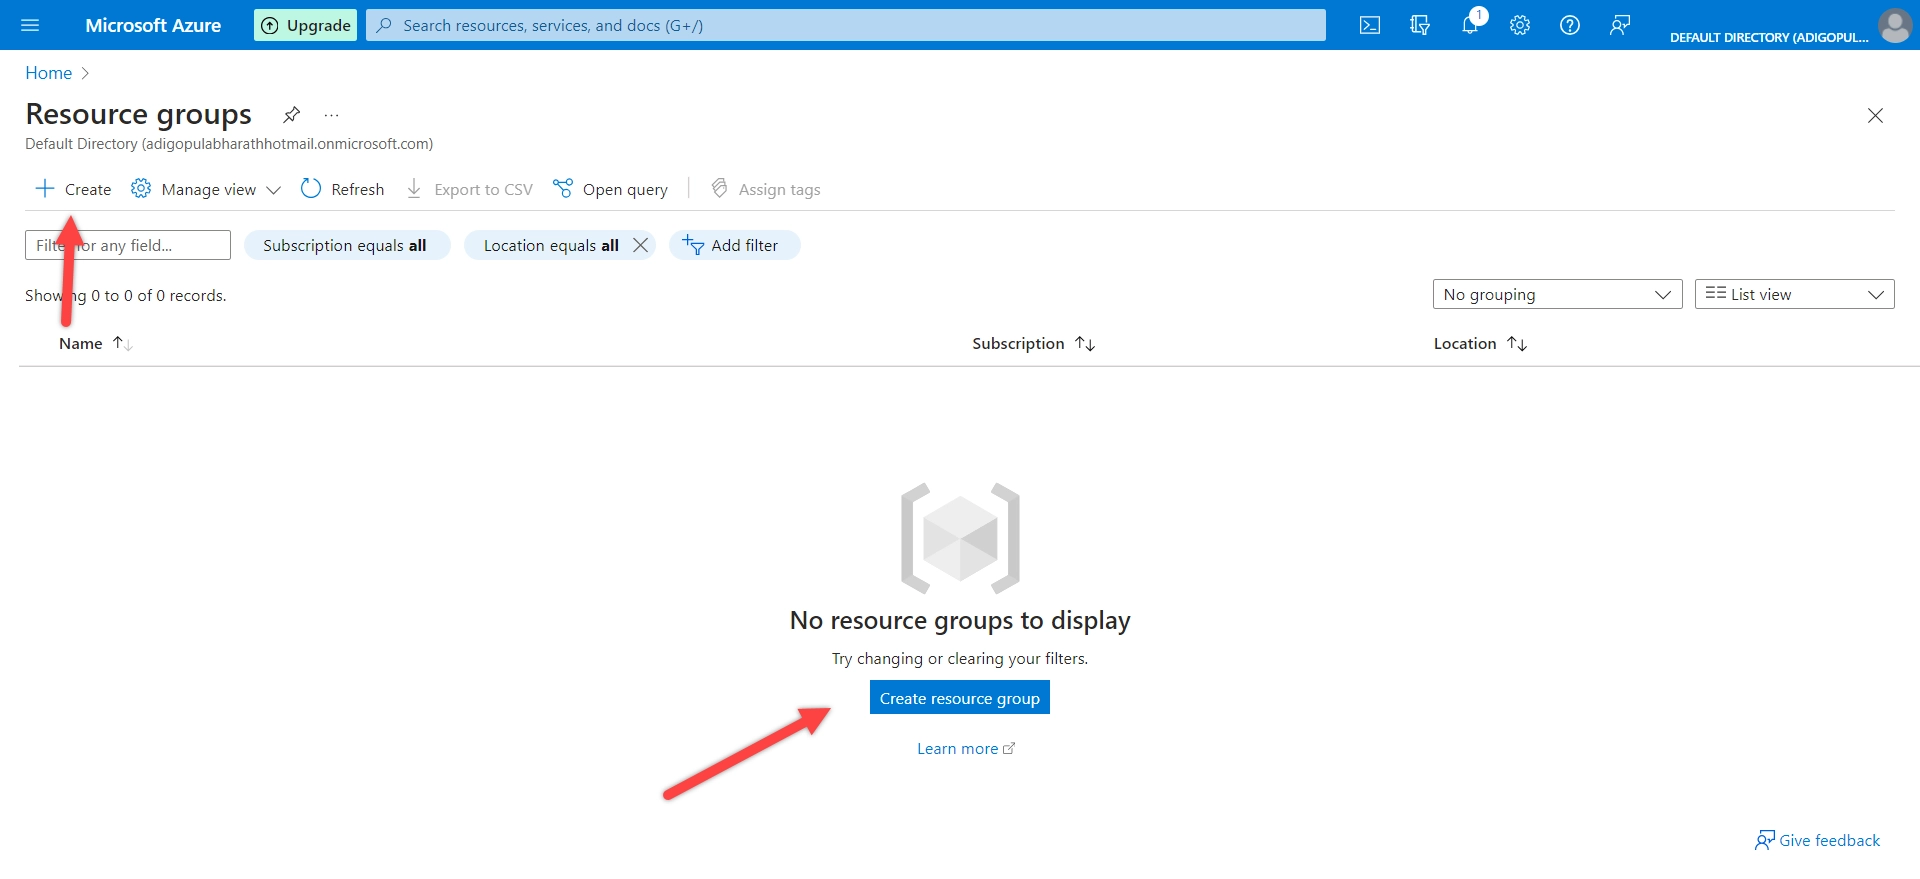
To start working in the Azure Portal, first click on either the “Create a resource” button on the left or the “+ Create a resource” button in the middle of the dashboard.
Step 3: Configure the Resource Group
When setting up a new resource group, make sure to include all the necessary information.:
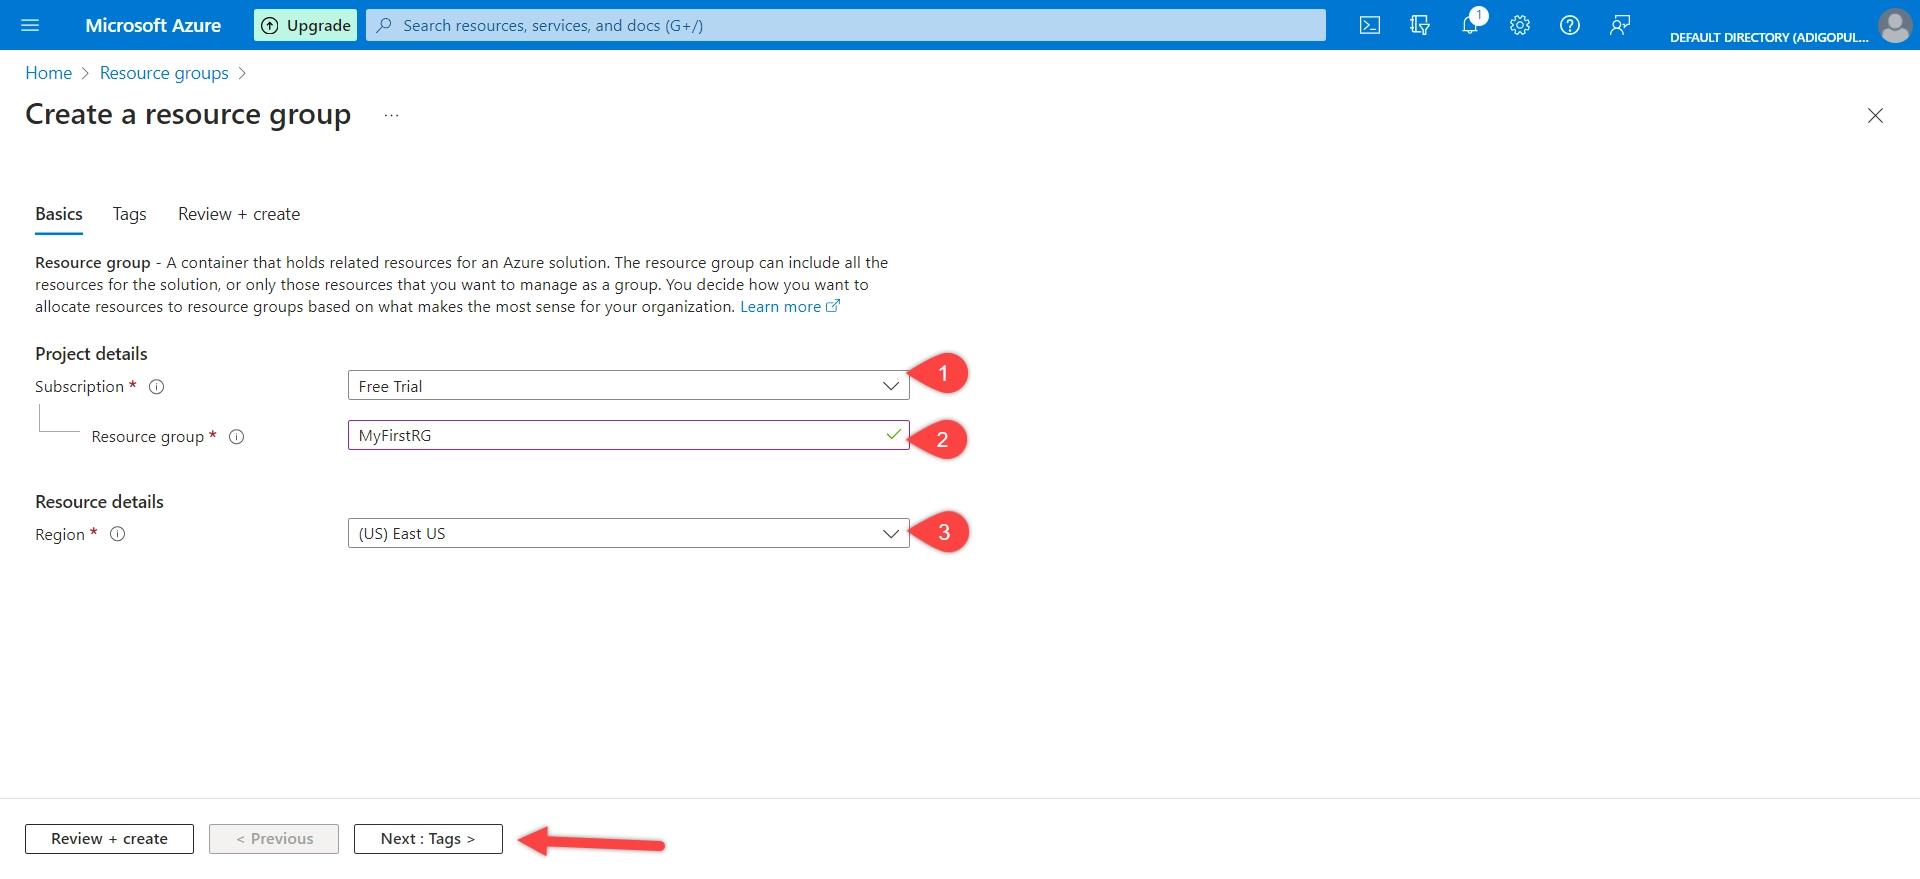
- Subscription: Pick the Azure membership plan that you wish to link with the collection of resources.
- Resource group: Please choose a specific name for your group of resources. You can use letters, numbers, underscores, hyphens, periods (except at the end), and parentheses in the name.
- Region: Choose the data center location where you want to create a group for your resources on Azure. This location determines where your data will be stored and managed.
Step 4: Review and Create
Please double-check the information you’ve provided to make sure everything is accurate and up-to-date.
If you want to keep things organized, you have the option to include tags. However, this is not required.
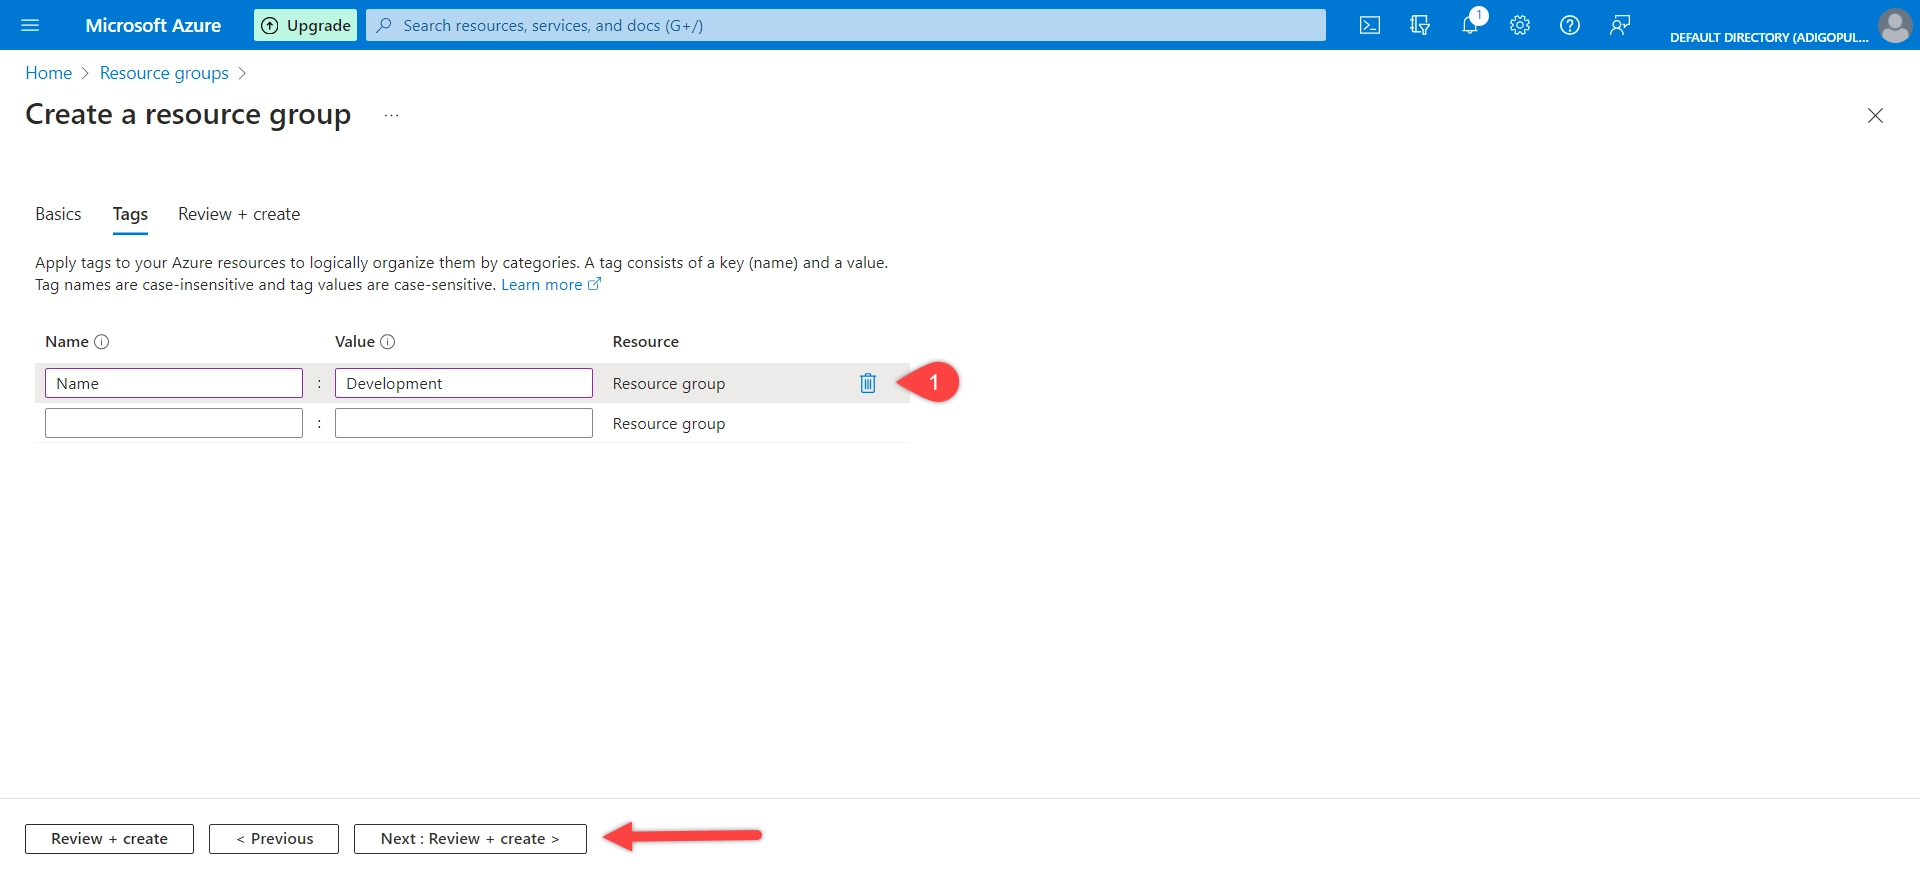
When you’re finished checking everything, click the button at the bottom of the page that says “Review + create.”
Step 5: Review and Validation
Azure will check to make sure everything is set up correctly.
If there are any problems, they will be pointed out to you, and you’ll have to fix them before you can continue.
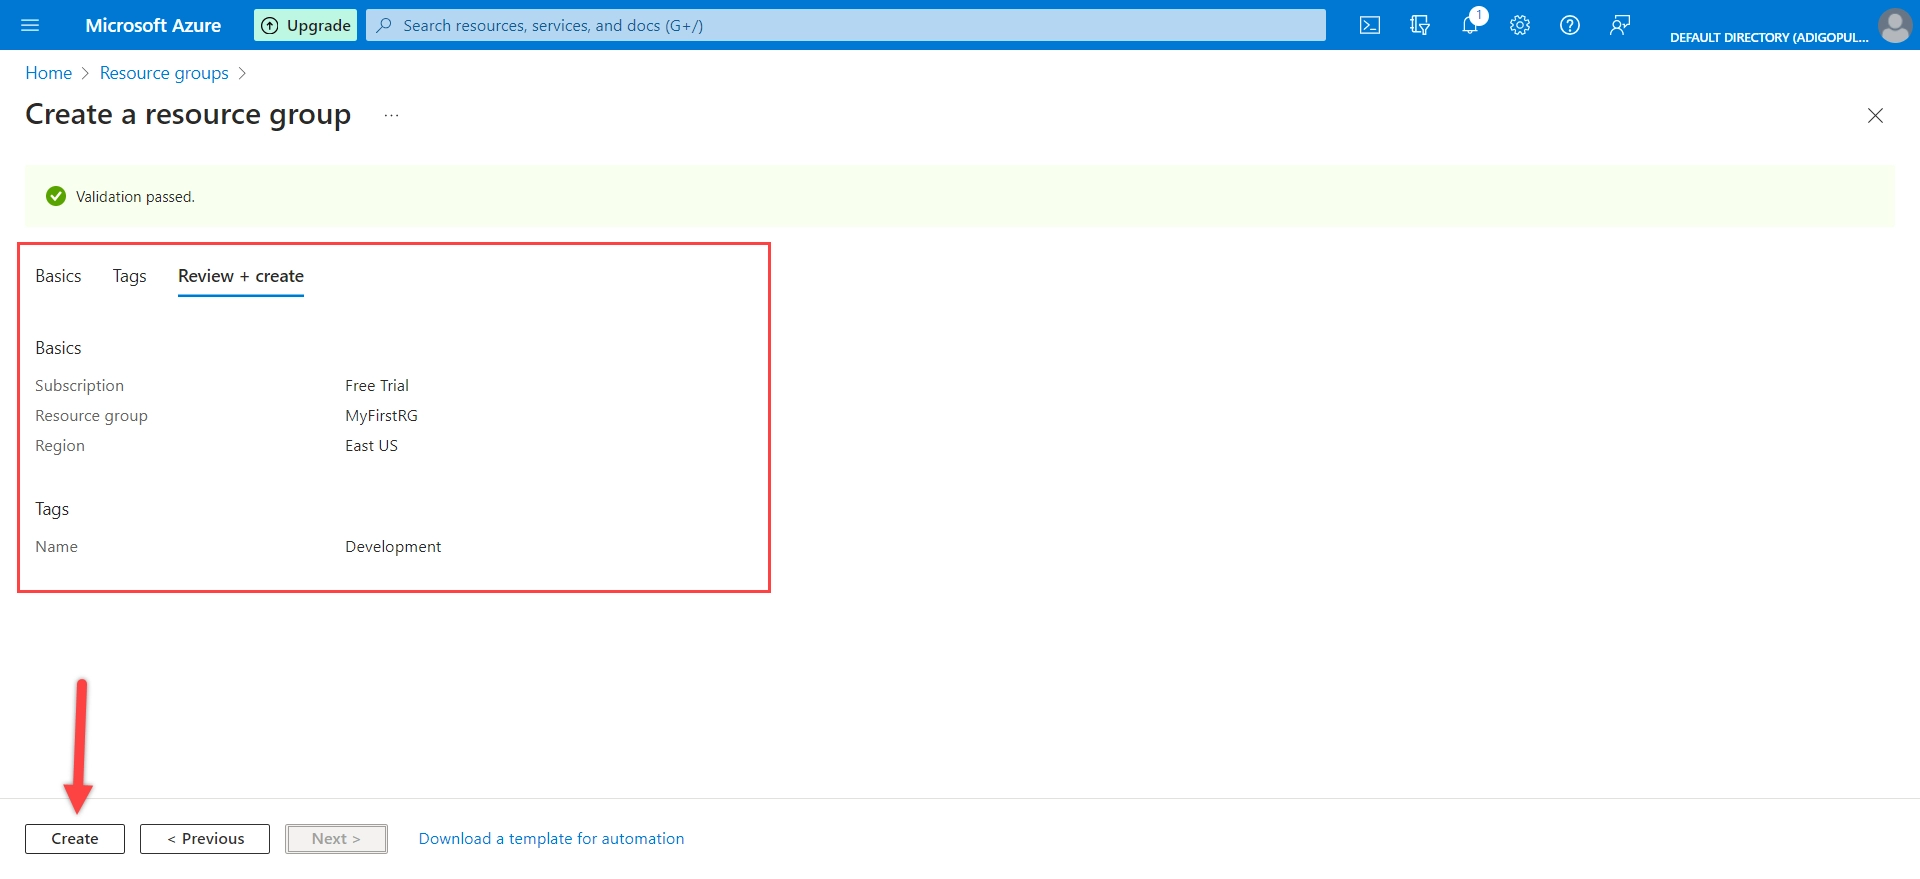
After you’ve checked everything and made sure it’s good to go, just press the “Create” button.
Your request has been received and is being processed. Soon, the necessary resources will be created based on your provided information.
Step 6: Verify
After the process is finished, you will be notified if everything went smoothly.
To move around the resource group, just click the “Go to resource” button.
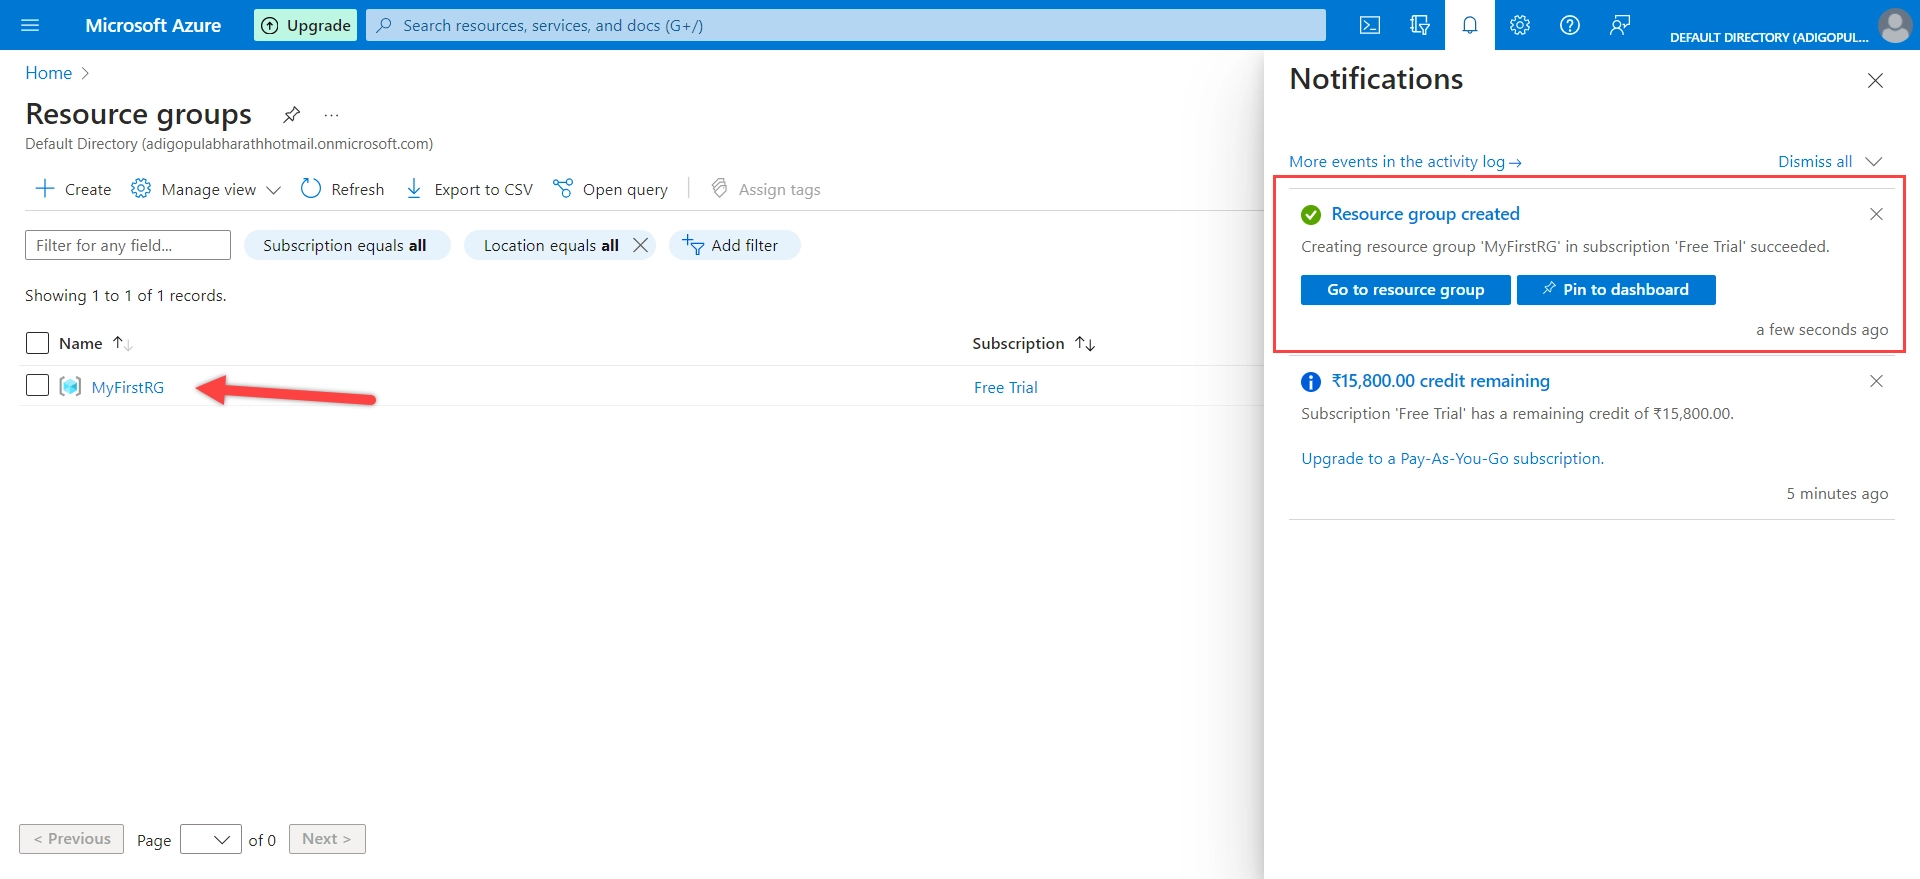
If you want to make sure that the group of resources you created is working properly, you can check the “Resource groups” section in the Azure Portal. It will show you if your new resource group was successfully created.
Great job! You’ve just accomplished creating a resource group in Azure. This resource group will help you to easily keep track of and handle all your Azure resources.